1
5. DAILY MAINTENANCE
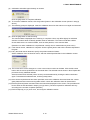
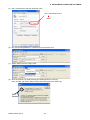
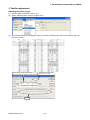
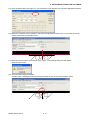
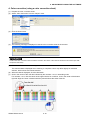
(5) When the data is displayed, click the [Get] button.
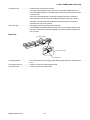
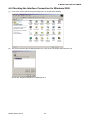
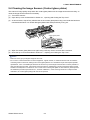
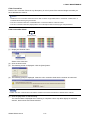
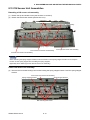
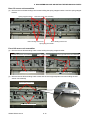
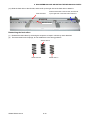
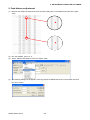
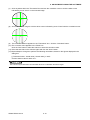
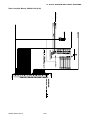
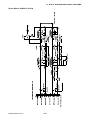
(6) Click in the center of the color tiles indicated by the numbers 1 to 6 on the color correction sheet, in
ascending order. For numbers 1 to 5, click in the center of the upper left tile; for number 6, click in the
center of the bottom right tile. Align the cursor crosshairs with the printed reference lines beside each of
the indicated tiles.
Cursor lines (red)
Align with the printed lines then click
1
2
3
4
5
6
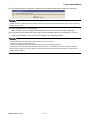
Checkpoint
• The next reference point to be checked is displayed on the Status bar.
• If you click in error, click the Esc. key to cancel the operation and return to the immediately previous step.
• If you click on the wrong tile, color correction will not be performed correctly and the colors of the image displayed
after color correction will be incorrect.
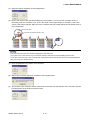
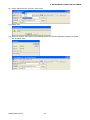
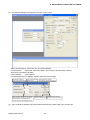
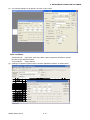
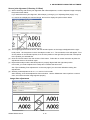
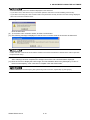
(7) Click the [Set] button to perform color correction.
(8) When color correction has been completed, click the [OK] button.
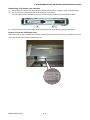
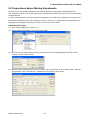
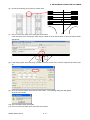
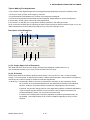
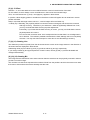
(9) To check the color correction results, select Color Correction from the Scanner menu, and then click the
[Confirm] button in the Color Correction screen.
SK200-UM-251-9370
5-12