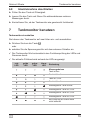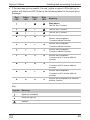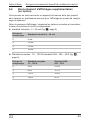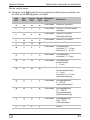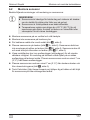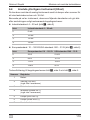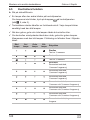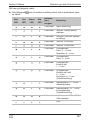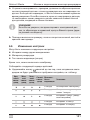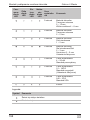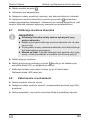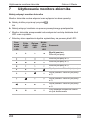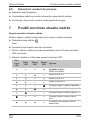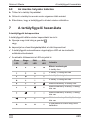
1
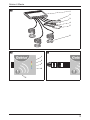
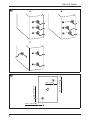
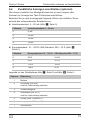
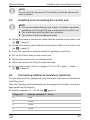
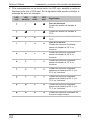
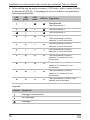
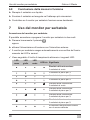
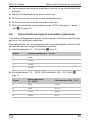
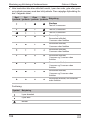
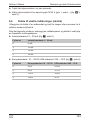
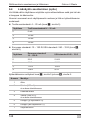
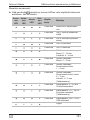
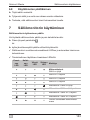
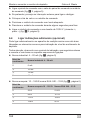
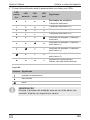
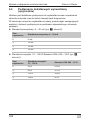
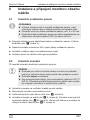
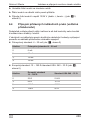
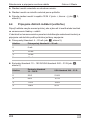
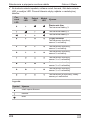
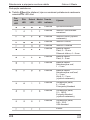
Gobius 4 Waste
Installing and connecting the device
I
NOTE
Do not touch the sensors for 15 minutes so that the adhesive is
able to harden.
6.3
Installing and connecting the control unit
I
NOTE
z It is recommended that you put a layer of Vaseline (prevents
oxidation) on the plugs that are connected to the control unit.
z The electronics are protected from moisture.
z The control unit does not resist water.
➤ Connect the sensor connection cables with the sockets on the control unit
(fig. 6 1, page 5).
➤ Connect the control panel with the control panel cable to the control unit
(fig. 6 2, page 5).
➤ If you like, provide an external switch for switching on and off.
➤ Put on the velcro strap on the control unit.
➤ Position the control unit in a suitable place.
➤ Press the control unit firmly for a few seconds.
➤ Connect the control unit to a voltage of 12 V or 24 V (grey: +; black: –)
(fig. 6 3, page 5).
6.4
Connecting additional indicators (optional)
You can also connect a gauge and up to two lamps or buzzers to indicate the
tank filling level.
Note the following values depending on the gauge and connect it using the
appropriate circuit diagram:
z Industry standard: 4 – 20 mA (fig. 7, page 5)
EN
Filling level
Industry standard 4 – 20 mA
0
6 mA
¼
10 mA
½
14 mA
¾
18 mA
27