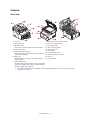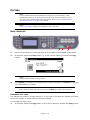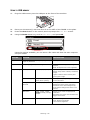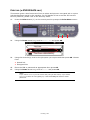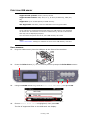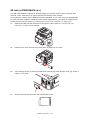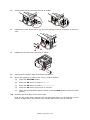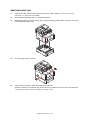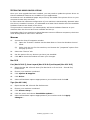
1
20
3
1
2
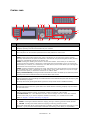
12 13 5 4
6
11
18
19
15
REF.
9 17 16
14
7
8
10
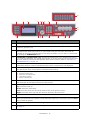
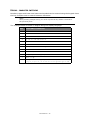
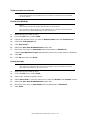
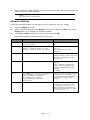
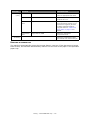
DESCRIPTION
8.
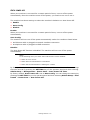
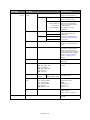
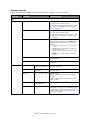
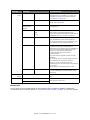
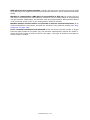
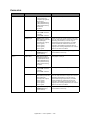
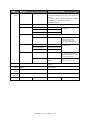
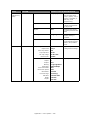
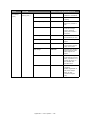
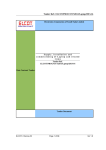
STOP: Pressing this button stops the copying or scanning process.
9.
BACK: Used to cancel selections and go back to the top level of the setting. The key is also used to
cancel any previous input.
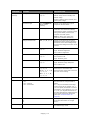
10.
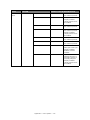
POWER SAVE: Pressing this button switches the power save mode on or off, its LED being
illuminated when power save mode is on. If the machine has gone into power save mode as
indicated by the screen being black and the LED being illuminated, you can return to normal mode
by pressing the POWER SAVE button.
11.
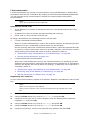
JOB MACRO (e-STUDIO264CS only): Pressing this button allows you to program short-cuts to
your most used operations. For example a fax number you send to every day can be programmed in
and then allows you to perform that operation at the touch of a button. Refer to “Job macros (eSTUDIO264CS only)” on page 114.
12.
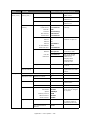
STATUS: Pressing this button gives access to the status menu screen. Use to check detailed status
information about the machine. Flashes/illuminates if there is a status item to be displayed.
13.
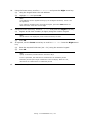
SETTING: Pressing this button gives access to several setup options on the LCD screen, including
the administrator menu, profile options and address books settings.
14.
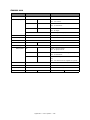
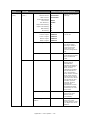
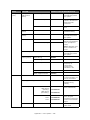
CLEAR: Executes the following actions according to the entered items when pressed or held:
>
>
>
>
15.
Minimizes a setting value.
Enters zero as a setting value.
Clears what is entered.
Cancels a selected item.
DATA IN MEMORY indicator light
LED illuminates to show data is stored in the MFP memory.
16.
Arrow keys
Up: moves the cursor up.
Down: moves the cursor down.
Left: moves the cursor left. Can also be used to return to the previous screen.
Right: moves the cursor right. Can also be use to proceed to the next screen.
17.
OK: Used to select and confirm current setting selections.
18.
One-touch speed dial keys (e-STUDIO264CS only): Provides one-touch dialling of your most
often used or favourite fax numbers or email addresses. Eight keys x two groups (press the SHIFT
key to switch the groups).
19.
Panel lift handle (e-STUDIO264CS only): Lift panel to reveal qwerty keyboard.
20.
Qwerty keyboard (e-STUDIO264CS only): Refer to “Qwerty keyboard (e-STUDIO264CS only)”
on page 21.
Introduction > 19