1
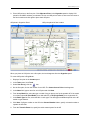
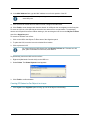
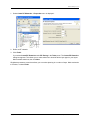
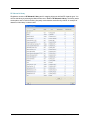
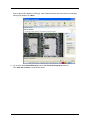
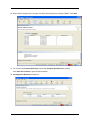
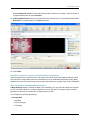
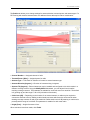
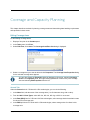
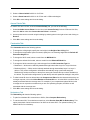
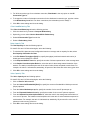
Creating Additional Wiring Closets To create a new wiring closet on a floor: 1. Display the floor plan in the Content panel. 2. In the Tasks panel, click Tools. 3. In the Wiring Closet/Misc area under Coverage Area, click the (Insert Wiring Closet) icon. 4. Click in the floor display where you want to place the wiring closet. The Wiring Closet Properties dialog appears. 5. In the Name field, type the name of the wiring closet (1 to 60 characters, with no tabs). 6. If you have not defined an MX in RingMaster, click Finish to save changes. Otherwise, go to Step 7. RingMaster determines how many MXs are needed when computing the number of access points required and automatically creates them. 7. To add a previously created WLC to a wiring closet, select the WLC in the Available Devices list, then click Add to move it to the Current Devices field. To remove an WLC from a wiring closet, select the WLC in the Current Devices list, then click Remove to move it to the Available Devices field. If there are two or more WLCs in a wiring closet, you can change the order RingMaster uses to check switches for free ports. If there are no free ports on listed switches, RingMaster creates and inserts a new WLC in the wiring closet. Select an WLC and click Up or Down to change the order of the WLCs. 8. Click Finish to save changes. Placing Third-Party Access Points If you have third-party access points in your network, you can place icons for them on your floor layout and configure their radio attributes using RingMaster. The radio attributes are taken into consideration when RingMaster assigns channels to APs. If you add third-party access points while using the Configuration Navigation Bar button, the access points are listed in RF Planning on the Objects to Place tab, and you can move them to their locations on the floor plans. (See Moving a Third-Party AP to a Floor Location.) You also can add third-party access points in RF Planning. (See Creating and Placing an Icon for a Third-Party Access Point.) Moving a Third-Party AP to a Floor Location If you added a third-party access point while using the Configuration Navigation Bar button, the access point is on the Objects to Place tab. 1. In RF Planning, navigate to the floor plan. 2. In the Organizer panel, click Objects to Place. 3. Select the icon or description of the AP. Coverage Areas That Could Not Be Optimized Copyright © 2011, Juniper Networks, Inc.