1
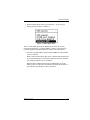
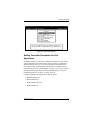
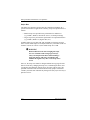
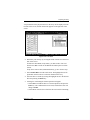
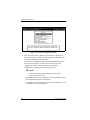
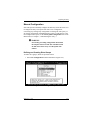
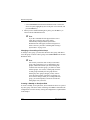
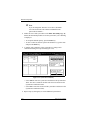
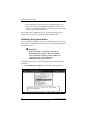
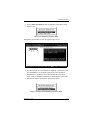
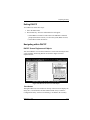
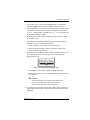
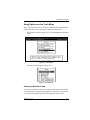
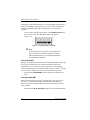
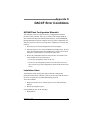
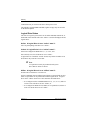
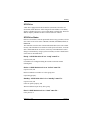
Running a Consistency Check
2. Choose Select System Drive from the Consistency Check menu
(Figure 3-8).
Figure 3-8. Consistency Check Menu
The Consistency Check screen will appear.
3. Use the cursor keys to select a particular redundant system drive to be
checked for consistency.
☛ Note
Selecting a non-redundant system drive for a
consistency check will result in an error message, as
such drives cannot be checked in this manner.
4. Press Esc to return to the Consistency Check menu.
5. Select Start Check from the Consistency Check menu.
6. A confirmation box will appear, asking if you want to automatically
restore consistency to the drive.
• Select YES to restore consistency to the selected system drive. Be
aware that potential data loss could result from this action.
• Select NO to cancel the restoration of consistency between the data
and parity information contained on this system drive. If you are
unsure that you have a backup copy of the data on this system drive,
select the NO option, make a backup of the information on the
system drive, and then perform the consistency check.
7. Press the Enter key to start the process.
8. The consistency check status screen will appear, showing the status of
the operation.
9. At the conclusion of the check, a message indicating success will be
displayed. Press any key to return to the Main menu.
3-10
DACCF User’s Manual