1
Chapter 5 Preparation
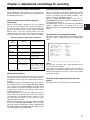
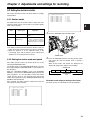
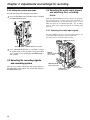
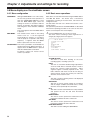
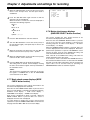
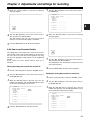
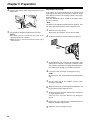
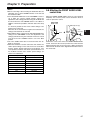
the JOG dial button to move the arrow (cursor) to
13 Turn
YES, and press the JOG dial button.
ACTIVE now appears on the screen. This indicates that
the white shading is now being automatically
compensated. Upon completion of the adjustments, WSHD OK is displayed.
<Note>
Depending on the KNEE settings, “LEVEL OVER” may
appear on the screen and white shading compensation
may not be possible. If this is the case, either stop down
the lens or set the AUTO KNEE OUTPUT switch to OFF,
then perform a menu operation to open the
<KNEE/LEVEL> screen from the PAINT screen, select
“OFF” as the MANUAL KNEE item setting, and repeat
steps 4 through 9. After “W-SHD OK” has appeared on
the display, select “ON” again as the MANUAL KNEE
item setting.
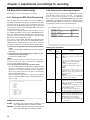
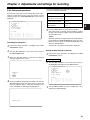
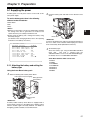
Storing the lens file data
The white shading adjustment values can be stored in the unit
as lens file data.
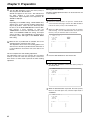
Selecting the file No.
1
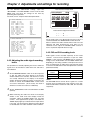
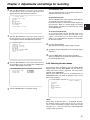
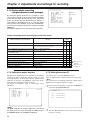
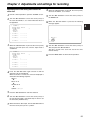
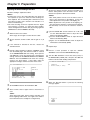
Perform a menu operation to open the <LENS FILE>
screen from the FILE page, and turn the JOG dial button
to move the arrow (cursor) to the FILE NO. item.
2
When the JOG dial button is pressed, the file number
starts flashing. Turn the JOG dial button and select the
lens file (1 to 8) in which the data is to be stored.
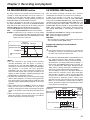
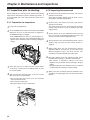
< LENS FILE >
#
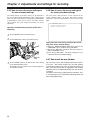
the lens is provided with an extender, turn on the
14 When
extender function, and repeat steps 7 to 13.
:1
TITLE : ************
1:
2:
3:
4:
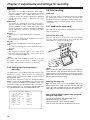
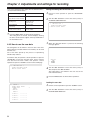
The adjustment values of the two resulting patterns–one
when the lens extender is provided and the other when it
is not provided–are stored in the unit as the data of one
lens file.
This now completes the white shading adjustments.
The adjustment values are now stored in the non-volatile
memory so that even when the unit’s power is turned off,
there will be no further need to perform the white shading
adjustment.
FILE NO.
READ
WRITE
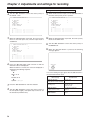
3
5:
6:
7:
8:
Press the JOG dial button to enter the lens file.
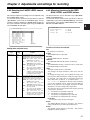
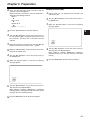
Giving a title to the selected file NO.
4
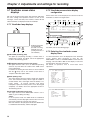
Turn the JOG dial button to move the arrow (cursor) to
the “TITLE:” item.
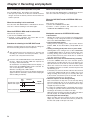
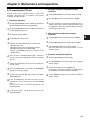
< LENS FILE >
FILE NO.
READ
WRITE
#
TITLE : ************
1:
2:
3:
4:
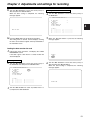
5
:1
5:
6:
7:
8:
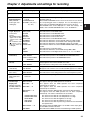
When the JOG dial button is pressed, the arrow (cursor)
moves to the title input area, and the input mode is
established.
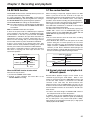
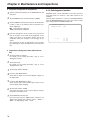
< LENS FILE >
FILE NO.
READ
WRITE
:1
;
TITLE : ************
1:
2:
3:
4:
62
5:
6:
7:
8: