1
Fibre-Optic Hydrophone System
SOFTWARE INSTALLATION
1.
2.
3.
4.
Connect the IEC mains inlet to the rear of the system and a mains socket.
Connect the USB cable to the front of the system and to a spare USB socket on your PC.
Ensure PC is switched on and running MS Windows (Minimum XP).
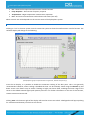
Switch on the system (power switch on rear panel), if this is the first time the system has been plugged
into the PC, the following may appear:
5. Click “Next” and follow the onscreen instructions. If other similar windows pop-up, run through these
also.
a. If any of the hardware installations fail at this point, don’t worry, just carry on with the rest of the
installation.
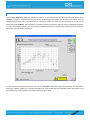
6. Navigate to “My Computer” and double click on the drive named “FOH_System” (the drive letter will be
system dependent):
7. Double click on “FOH 1.X.X.X Installer.exe”. This is a self extracting executable which will copy the
necessary installation files to the PC and then install the system software.
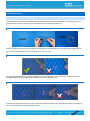
8. Follow the on screen instructions to install the necessary National Instruments components. Finally,
restart the PC when instructed to do so
a. (On some PCs it may be necessary to unplug the hydrophone system for the PC to boot normally,
if this is the case, a “system disc” error will be displayed asking you to remove the “non-system
disc” and press any key to continue. If you receive this message, simply unplug the hydrophone
system and press any key on the keyboard).
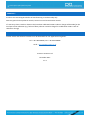
9. The system is now installed and ready for use. To run the control program, go to Start>All Programs>FOH
Control>FOH Control. A desktop shortcut will also be created for your convenience.