1
10.
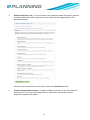
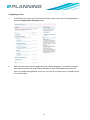
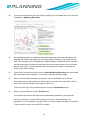
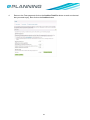
If you own land adjacent to the site of the proposal you can indicate this on the map too
by adding an Adjoining Boundary.
11.
An adjoining boundary is created by drawing a shape around the site that adjoins the
proposal site. Draw a boundary line around the area by clicking to place points on the
map. The boundary line is automatically created between consecutive points. Continue,
moving anticlockwise to place the vertices of the site boundary (take care not to make
the line cross itself). To place the last point and complete the shape, hold down the
CTRL button when clicking.
12.
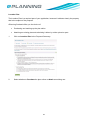
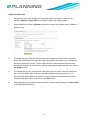
If you want to redo the boundary, click on Delete Adjoining Boundary then click inside
the red boundary line to delete it. You can then draw the boundary again.
13.
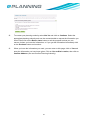
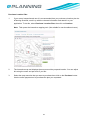
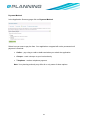
When you have finished marking up the plan, you can download and review the
information that you have entered to confirm that it is correct. You may find it useful to
save some of this information externally for future use.
To save a PDF copy of the marked up map, click on the Download button.
14.
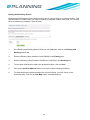
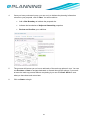
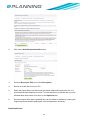
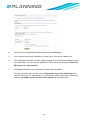
When you have finished, click the Finish button.
Your marked up location plan will now be automatically attached to your proposal.
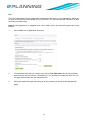
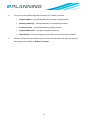
You can amend your Location Plan at any point until you have submitted your
application. If you amend your Location Plan you must complete all steps and click the
‘Finish’ button to ensure the new PDF is created.
36