1
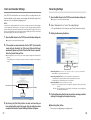
Detailed Network Settings
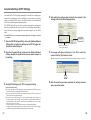
Make more detailed network settings for the TR-7W here.
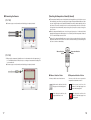
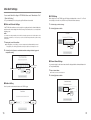
■ Changing the Settings
※ Before making any settings here, please set the TR-7W with the proper IP address.
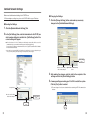
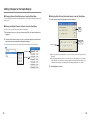
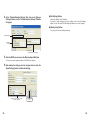
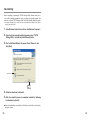
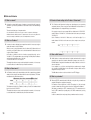
1. Click the [Change Settings] button, and make any necessary
changes to the [Detailed Network Settings].
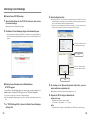
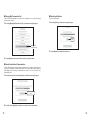
■ Sending the Settings
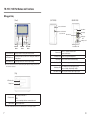
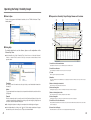
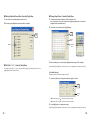
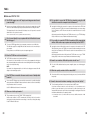
1. Click the [Detailed Network Settings] Tab.
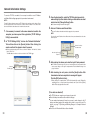
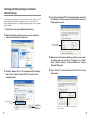
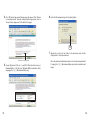
2. In the [Get Settings] Area, enter the information for the TR-7W you
wish to make settings for and click the [Get Settings] button. The
current settings will appear.
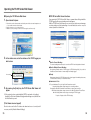
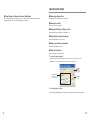
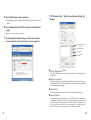
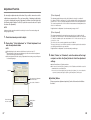
●A
list that shows all of the IP addresses and domain names with which successful
communication has occurred until now will appear in the [Settings History].
If you select an IP address or domain name here, the Login ID, Password and Port Number
will be entered automatically.
※ Note that if you have turned [OFF] the [Login History] in the [Menu] or if you have deleted the Login
history by having clicked [Clear Login History] the Settings History will not appear.
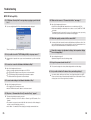
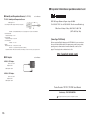
[Send Settings]
button
Enter info of the TR-7W you [Re-Activate Communication]
wish to make settings for
button
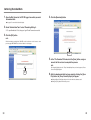
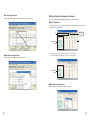
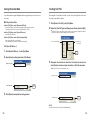
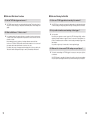
2. After making the changes, enter the info for the recipient of the
settings and click the [Send Settings] button.
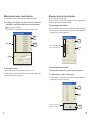
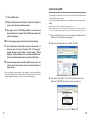
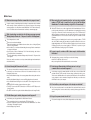
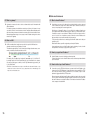
3. A message will appear asking you if it is OK to restart the system.
Click the [Yes] button to restart.
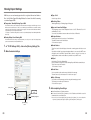
※ The new settings will not become activated without reactivating the TR-7W communication
functions.
"Settings History"
Enter info of the TR-7W you
wish to make settings for
[Change Settings]
button
[Get Settings]
button
[Yes]
button
31
32