1
1
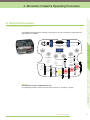
ii. Implant Site Preparation
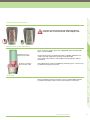
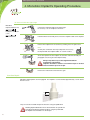
Osseous Crest Access
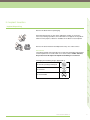
Tissue punch (B1010)
For accessing the bone, it is possible to use a scalpel or the tissue punch
proposed by AXIS.
2
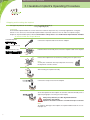
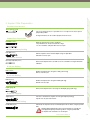
A large round bur can be used to prepare the bone crest.
Implant Site Preparation
Round bur (B1011)
Point drill (B1012)
Mark the implant site using a round bur.
The point drill can also be used at this stage.
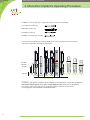
1.4 mm round bur and point drill: max. 800 rpm
3
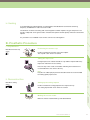
Ø 2.4 mm Primary Drilling
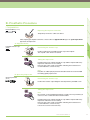
Pilot drill (B1013)
Drill the implant site to the final depth using the pilot drill.
Pilot drill: max 800 rpm
Direction indicator (B1022)
Measure the depth of the site and assess its orientation using the direction
indicator.
4
Parallelism Control
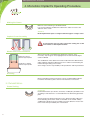
Ø 2.9 mm Drilling
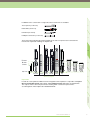
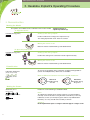
Drill S (B1014)
Widen the implant site using the S drill (yellow ring).
Drill S: max 550 rpm
Drill M (B1015)
5
Ø 3.4 mm Drilling
Widen the implant site using the M drill (red ring).
Drill M: max 500 rpm
Depth gauge M
(B1024)
Measure the depth of the site using the M depth gauge (red ring).
6-7
Depth Control
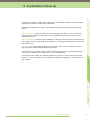
Tap M (B1082)
For class I and II bone, tap the site using the tap M (red ring).
Tap M: max 15 rpm and 35 Ncm
Ø 4.5 mm Profile Drilling
Profile drill (B1170)
Appendix
Ø 4.0 mm Tapping
If desired, the implant can be inserted deeper into the bone using the profile
drill.
Working depth indicated on the instrumentation are specific for
transgingival implant positioning. When using the profile drill,
the implant site should be 1.5 mm deeper.
www.axis-biodental.ch
17