1
PP18 – Programmer for PIC18
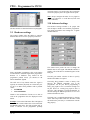
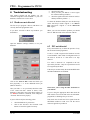
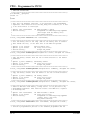
Now we suppose the hardware settings are correct
(use Settings window). If the device is still not
detected then you should open the Advanced Settings
window to tune the communication transfer rate.
To detect the PIC18 properly the Delay_IO parameter
is not involved. In fact it’s only used to write data into
the flash correctly.
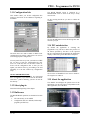
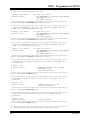
Click now on the AUTO-SETUP button to let PP18
find the best Delay_Prog parameter for your
computer. This parameter is a delay inserted in every
CLOCK change to let the PIC18 enough time to
understand the requests.
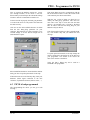
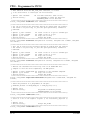
This means PP18 succeeds to communicate with the
PIC18 inserted but when it verifies the content of the
written memory the check action failed.
With the 2.01 version of PP18 you don’t have to
modify the Delay_Prog parameter. This value lets
more time to the chip to write data into the flash
memory. An automatic retry is forced by the PP18
DLL in order to tune the best Delay_Prog for your
hardware and your PIC18.
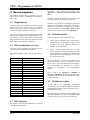
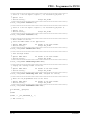
Then if the transfer failed your chip is probably dead.
Try with another chip and you should have this
message:
To speed up the PP18 transfer to the chip change the
resistor connected to the DATA pin of the PIC18 in
your programmer. The smaller is the resistor the
faster is the transfer to the PIC18.
Value less than 1 Kohm may not be used in a
SCHAER+ like programmer.
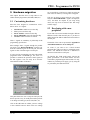
PP18 should find the PIC18 inserted and the smallest
Delay_IO value to speed up the transfer to the chip.
If PP18 does not succeed to find any chip, check your
hardware (GND signal connected to the LPT
connector, any hardware shortcuts, PIC18 socket,…).
6.3 PIC18 is bad programmed
After programming the device you can get a such
message:
15 / 27
10/23/2003