1
2.6. CONFIGURATION OF MODULES
CHAPTER 2. CREATING A SCHEDULE
green background / status: coming up The batch has not yet started. You can modify
any setting of this batch.
yellow background / status: running The batch is currently running. At least one run
has already started. You cannot modify anything but the number of runs this batch
has. You cannot decrease the number of runs below the number of already completed
runs (plus the actual running one) though.
red background / status: finished This batch has been finished completely. All runs
have completed. Nothing can be changed here.
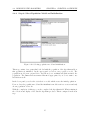
You can add new batches by either pressing New Batch or Copy Batch. The New Batch
button creates a copy of the default batch that contains the configurations made in the first
panels. The Copy Batch button simply copies the selected batch and appends it to the list.
You can remove batches with the Remove Batch button and change the order of batches
with the arrow-buttons to the right. To modify the settings of a batch, first select it from the
table by clicking on the corresponding row (the row will become bold). As soon as you select
a batch, the Batch Properties panel at the bottom will show the configuration of it. You
may then change the number of runs or the configurations for the phenotype search space,
the fitness function, or the initial population. Changes are applied directly to the batch.
Note:
The first batch is created automatically every time you enter this panel or hit the Finish
button and the list of batches is empty. If you step back to previous panels and change
configurations there, all batches that have already been created will remain unchanged.
In case you want the batches to run with the new configurations, you have to create new
batches instead.
Try adding a few batches with different configurations and press Finish.
Well done. Your schedule is now complete. Now you might want to simulate (run) your
schedule to see what it really does. This is covered in Chapter 3: Controlling Runs.
2.6
2.6.1
Configuration of Modules
Configuration of Properties
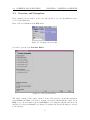
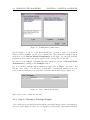
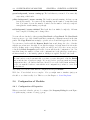
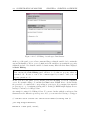
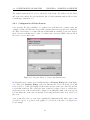
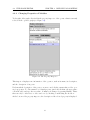
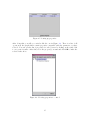
Whenever a module offers the option to be configured, the Property Dialog shown in Figure
2.13 (with varying contents of course) pops up:
20