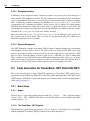
1
352
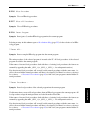
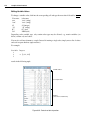
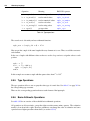
HDevelop Language
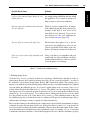
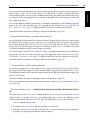
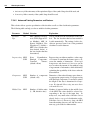
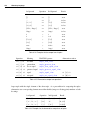
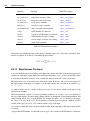
Operation
Meaning
HALCON operator
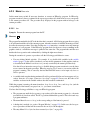
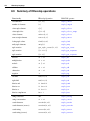
lsh(i1,i2)
left shift
tuple_lsh
rsh(i1,i2)
right shift
tuple_rsh
i1 band i2
bitwise and
tuple_band
i1 bxor i2
bitwise xor
tuple_bxor
i1 bor i2
bitwise or
tuple_bor
bnot i
bitwise complement
tuple_bnot
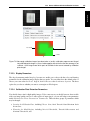
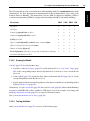
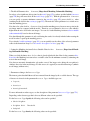
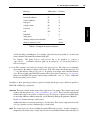
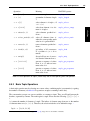
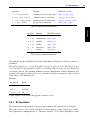
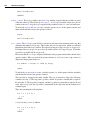
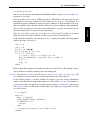
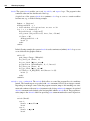
Table 8.11: Bit operations.
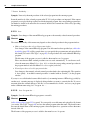
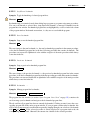
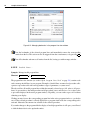
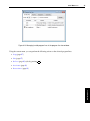
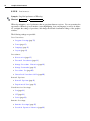
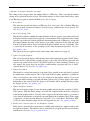
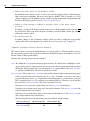
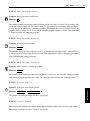
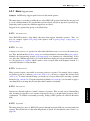
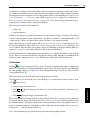
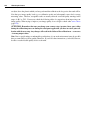
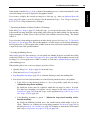
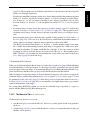
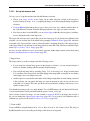
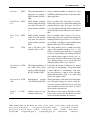
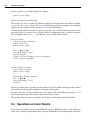
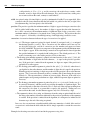
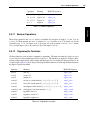
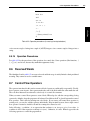
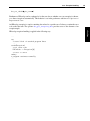
is applied i2 times. For non-negative i1 this is equivalent to a division by 2i2 . For negative i1 the
result depends on the used hardware. For lsh and rsh the result is undefined if the second operand has
a negative value or the value is larger than 32. More examples can be found in the program bit.hdev.
8.5.8
String Operations
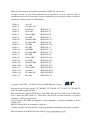
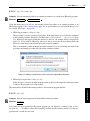
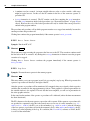
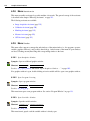
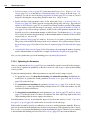
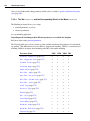
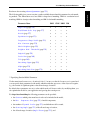
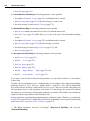
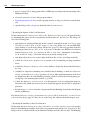
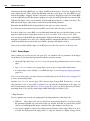
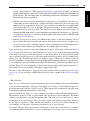
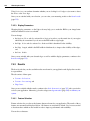
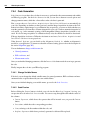
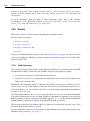
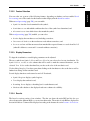
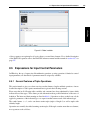
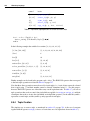
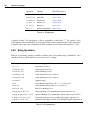
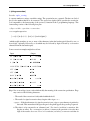
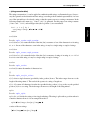
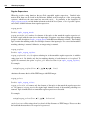
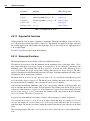
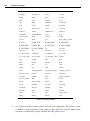
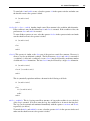
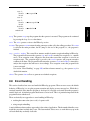
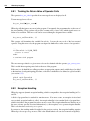
There are several string operations available to modify, select, and combine strings. Furthermore, some
operations allow to convert numbers (real and integer) to strings.
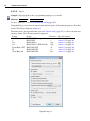
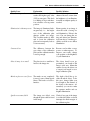
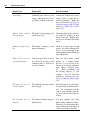
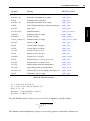
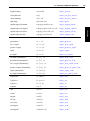
v$s
convert v using specification s
v1 + v2
concatenate v1 and v2
strchr(s1,s2)
search character s2 in s1
strstr(s1,s2)
search substring s2 in s1
strrchr(s1,s2)
search character s2 in s1 (reverse)
strrstr(s1,s2)
search substring s2 in s1 (reverse)
strlen(s)
length of string
s{i}
select character at position i; 0 <= i <= strlen(s)
s{i1:i2}
select substring from position i1 to position i2
split(s1,s2)
split s1 in substrings at s2
regexp_match(s1,s2)
extract substrings of s1 matching the regular expression s2
regexp_replace(s1,s2,s3)
replace substrings of s1 matching the regular expression s2 with s3
regexp_select(s1,s2)
select tuple elements from s1 matching the regular expression s2
regexp_test(s1,s2)
return how many tuple elements in s1 match the regular expression s2
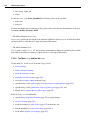
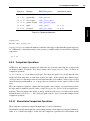
Table 8.12: String operations.