1
Installation
Installation
Review “Installation Considerations” before proceeding with installation.
Follow the procedures in these sections in the order given.
Notes:
• Install the Y-joint before installing the indoor unit.
• Install an electronic expansion valve (EEV) on this unit. Refer to the EEV Kit installation
guide (VRF-SVN43) for information.
Mounting the Unit
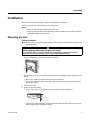
Ceiling Installation
Note: If the ceiling is already constructed, piping must be laid into position before placing the unit
inside the ceiling.
CAUTION
Avoid equipment damage and personal injury!
Ensure that the ceiling is strong enough to support the weight of the indoor unit. Before
hanging the unit, test the strength of each of the attached suspension bolts.
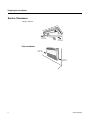
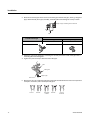
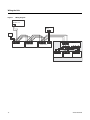
1. Select the direction for the pipe connection. See figure.
2. Use the template to locate the position for the holes for the refrigerant pipes, drain hose, and
wiring.
• Drill 3-1/8 in. (100 mm) holes for refrigerant pipes and wiring.
• Drill 1-3/4 in. (40 mm) hole for drain hose. Holes should slant slight downward to ensure
smooth water flow.
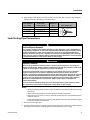
3. Install anchor bolts.
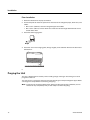
4. Install unit onto the ceiling.
• Tilt the unit 2° lower on the side that will have the drain hose attached to it.
2
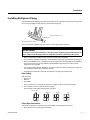
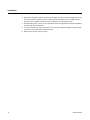
• If installing on a dropped ceiling, install a threaded rod with an anchor bolt or an expansion
bolt to suspend the unit below the ceiling.
VRF-SVX29A-EN
9