1
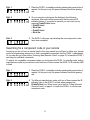
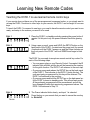
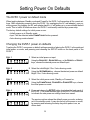
11 After a pause, the Power indicator blinks 5 times, and repeats.
STEP 11
ZEKTOR
1
2
3
4
5
Audio
2
3
4
5
Audio
2
3
4
5
Audio
2
3
4
5
Audio
2
3
4
5
Audio
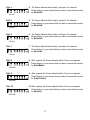
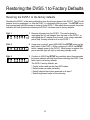
Press the key on your remote that you want to use as the new key
for SELECTIN+.
5 BLINKS
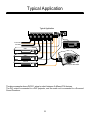
12 After a pause, the Power indicator blinks 6 times, and repeats.
STEP 12
ZEKTOR
1
Press the key on your remote that you want to use as the new key
for SETDIMMODE.
6 BLINKS
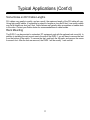
13 After a pause, the Power indicator blinks 7 times, and repeats.
STEP 13
ZEKTOR
1
Press the key on your remote that you want to use as the new key
for POWERON.
7 BLINKS
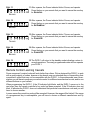
14 After a pause, the Power indicator blinks 8 times, and repeats.
STEP 14
ZEKTOR
1
Press the key on your remote that you want to use as the new key
for POWEROFF.
8 BLINKS
STEP 15
ZEKTOR
1
15 The DVS5.1 will return to the standby mode indicating a return to
normal operations. The newly programmed codes will now operate
your DVS5.1.
Remote Control Learning Caveats
Some component’s control codes will work better than others. We’ve designed the DVS5.1 to work
with a great majority of codes, however a few brands use non-standard ways of transmitting their
component’s codes that may not be compatible with the DVS5.1. In these somewhat rare circumstances you will have to program your remote control to a different manufacturer’s code, and/or use
different buttons on your remote.
When programming the DVS5.1, if the IR indicator light blinks, and the DVS5.1 moves on to the
next step, then the remote controller’s key code has been accepted. If the IR indicator does not
blink, it indicates the DVS5.1 does not understand that particular manufactures code and you will
have to choose another.
In some cases the remote key code will be accepted. However, the range will be limited. If the range
of a programmed key is unacceptable, you will have to choose a different manufacturer and try
again.
12