1
Pre-installation Adjustments
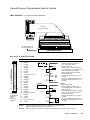
DIP Switch Settings – Motor Current, Feedback Options, Drive Features
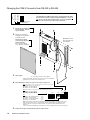
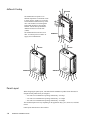
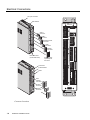
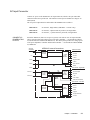
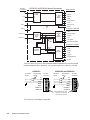
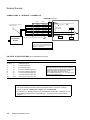
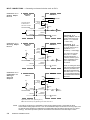
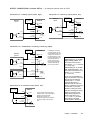
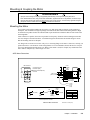
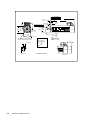
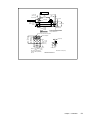
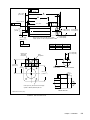
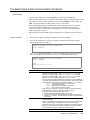
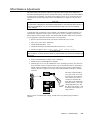
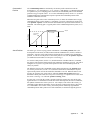
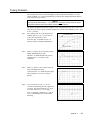
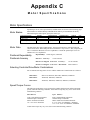
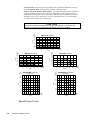
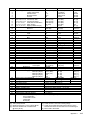
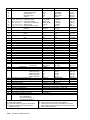
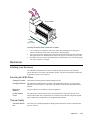
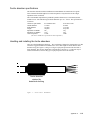
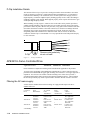
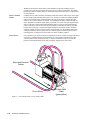
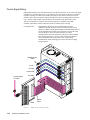
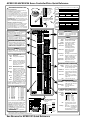
The APEX615n has three 8-position DIP switches. The switches are located behind a small
metal cover on top of the APEX615n. Loosen the two screws that hold the access cover.
Move the cover out of the way to expose the DIP switches.
L1
L1
Earth
Control L2
Control L2
1
OFF
OFF
1
1 2 3 4 5 6 7 8
1 2 3 4 5 6 7 8
SW1 8 1 SW2 8 1 SW3 8
1 2 3 4 5 6 7 8
Control L1
1 2 3 4 5 6 7 8
Earth
Control L1
1 2 3 4 5 6 7 8
Earth
Earth
1 2 3 4 5 6 7 8
D A N G E R
Earth
HIGH VOLTAGE
L2
Earth
SW1 8 1 SW2 8 1 SW3 8
D A N G E R
HIGH VOLTAGE
L2
1 2 3 4 5 6 7 8
1 2 3 4 5 6 7 8
1 2 3 4 5 6 7 8
ControlL2
8
SW3
1
8
SW2
1
8
Off 1 SW1
Earth
ControlL1
L3
Earth
L2
L1
1 2 3 4 5 6 7 8
1 2 3 4 5 6 7 8
1 2 3 4 5 6 7 8
ControlL2
Off 1 SW1
8
1
SW2
8
1
SW3
8
Earth
ControlL1
Earth
D A N G E R
HIGH
VOLTAGE
L3
D A N G E R
HIGH
VOLTAGE
L2
L1
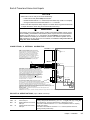
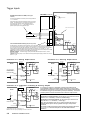
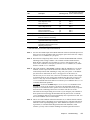
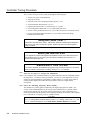
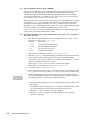
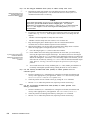
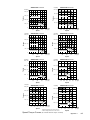
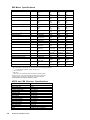
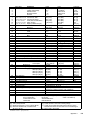
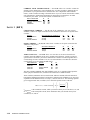
APEX6151 DIP Switch Location, with Cover Closed and Open
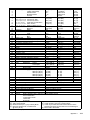
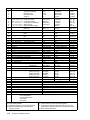
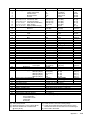
APEX6152/6154 DIP Switch Location, with Cover Closed and Open
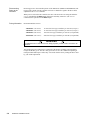
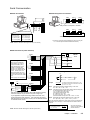
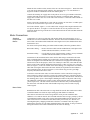
The default setting for all DIP switches when the APEX615n ships from the factory is off.
You must set these switches to configure the drive for your particular application. Use a small
screwdriver to set the switches. The next section summarizes the function of each switch. See
Appendix F for additional description of DIP switch functions.
6
APEX615n Installation Guide