1
Service Guide
14.0
Completing the Upgrade
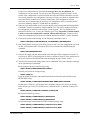
Use the following steps to complete the upgrade:
1. Reconfigure the kernel or reboot the server if necessary to configure all of the new units.
Using either the SWCC CLI or the maintenance terminal, check that the HSG80 controller
connection(s) to the host are set correctly. Use the command:
HSG80> SHOW CONNECTIONS
For connections whose status is listed as:
OL THIS or OL OTHER
Check that the operating system is set correctly for your server. The default setting is WINNT for
Windows NT. To change the operating system type for the online (OL) connections, use the
appropriate command for your system:
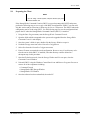
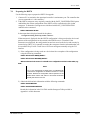
NOTE
Replace XX shown in the commands with the online
connection name when the “SHOW CONNECTIONS”
command was previously used in this step (above).
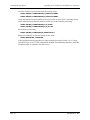
HSG80> SET !NEWCONNXX OPERATING_SYSTEM=SUN
HSG80> SET !NEWCONNXX OPERATING_SYSTEM=SGI
HSG80> SET !NEWCONNXX OPERATING_SYSTEM=WINNT
HSG80> SET !NEWCONNXX OPERATING_SYSTEM=DIGITAL_UNIX
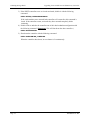
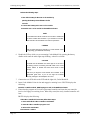
NOTE
For HP–UX and IBM AIX use default operating system
WINNT. Refer to Section 3.0 of the HP-UX Release Notes,
AA-RFBDC-TE/387370-003 for a detailed description.
2. Recreate or modify the mount points and file system tables to include the new device names
(See Table A-1).
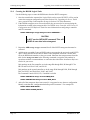
For HP-UX, import all volume groups at this time. Important: DO NOT use SAM to import the
volume groups. This must be done by using HP-UX commands. For example:
# mkdir /dev/vgxx
# mknod /devvgxx/group c 64 0xXX0000
# vgimport -m vgXX.mapfile /dev/vgXX /dev/dsk/c4t0d6
# vgchange -a y /dev/vgXX
EK-HSG80-UP. B01
Page 21