1
AREA MARQUEE - SAVING OR PRINTING A PORTION OF AN
IMAGE
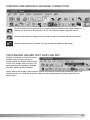
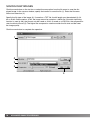
An area of an image can be selected and saved as a separate image file or printed. The
marquee can also be used to specify the area used for data imprinting (p. 38). Click on the
area-marquee button on the tool bar or select the area marquee from the cursor option of
the view menu.
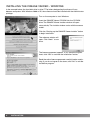
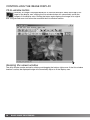
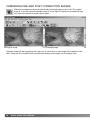
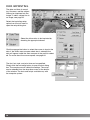
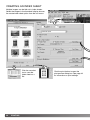
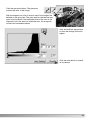
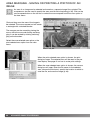
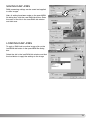
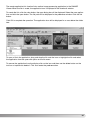
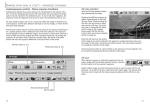
Click and drag over the area of the image to
be selected. The area-marquee tool will create
a rectangle with a dashed boarder.
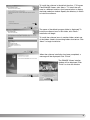
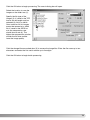
The marquee can be moved by placing the
cursor within the area and clicking and dragging. It can be resized by clicking and dragging on the boarders.
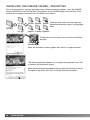
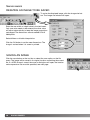
Select the save-selected-area option or the
print-selected-area option from the view
menu.
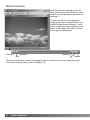
Area marquee
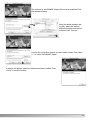
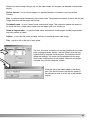
When the print-selected-area option is chosen, the print
dialog box open. The selected area will be seen in the preview display. See page 42 on how to make print settings.
When the save-selected-area option is chosen, the save-as
dialog box will open. Enter the file name for the selected
area, choose the file format, specify the location to which to
save the file, and save the image (p. 40).
64
ADVANCED IMAGE PROCESSING