1
3700R/3740 Refrigerated Sampler
Section 3 Programming Guidelines
programming mode procedure and examples before using the
extended programming mode. Most of the procedures used in the
extended programming mode duplicate those of the basic mode
and are not repeated in the extended programming procedures
section.
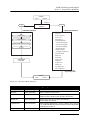
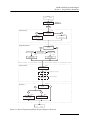
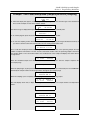
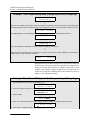
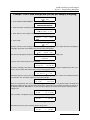
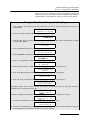
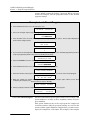
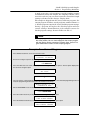
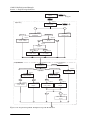
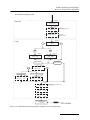
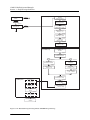
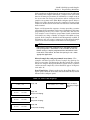
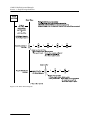
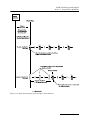
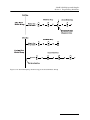
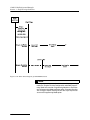
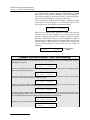
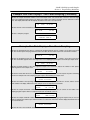
Flow charts accompany examples for both programming modes.
These charts diagram the program sequence structure for each
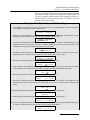
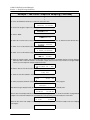
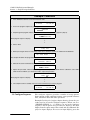
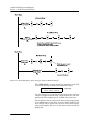
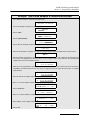
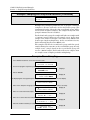
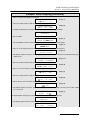
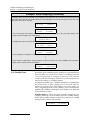
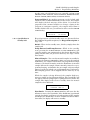
mode. Figure 3-8 charts the Basic Programming Mode structure.
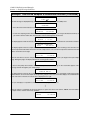
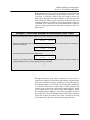
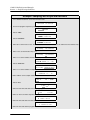
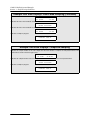
Figures 3-10, 3-11, and 3-12 chart the structure of the Extended
Programming Mode. The charts are provided to act as a “map” to
the programming process. Both charts are divided into sections
— Sample Pacing, Sample Distribution, Sample Volume, and Key
Times — which correspond to the steps listed in the procedure
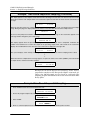
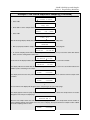
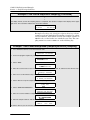
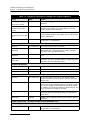
discussed below. Each chart contains the input displays used in
the sequence. The input displays on each chart are labeled with
their display number so they can be cross-referenced with the
listing found in Appendix C.
As noted earlier, Teledyne Isco ships the sampler with a test
program and factory configuration settings. The examples in this
manual assume that you are using all factory settings, and that
the sampler will use the 24-bottle base and a 10-foot length of
3/8-inch vinyl suction line. The settings with which your 3700 is
shipped include the size of bottle ordered and the size, type, and
length of suction line. When you check the configuration settings,
be sure the settings match your equipment, not the example.
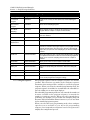
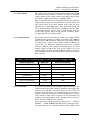
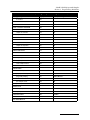
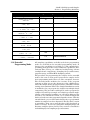
Most program and configure settings can be reinitialized to
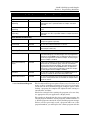
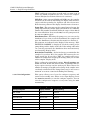
factory settings, if desired. Table 3-4 lists the factory settings.
The Run Diagnostics section discusses the reinitialize option.
3.8 Basic Programming
Procedure
The steps for programming the sampler in basic mode follow the
procedure outlined below.
1. Turn on the sampler with the ON/OFF key. The sampler
always “wakes up” in the standby state. The “STANDBY”
message will appear. If the sampler is turned off while running a routine, the “PROGRAM HALTED” message will be
displayed. Both messages indicate the sampler is in
standby.
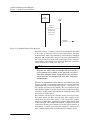
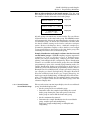
2. Press the ENTER/PROGRAM key to access the interactive
state. Select “program.” Refer to Figure 3-8 for displays
noted in Steps 3 to 6.
To return to a previous display when programming the
sampler, press the exit program key. The sampler will
return to standby. Press the ENTER/PROGRAM key again to
reenter the interactive state. Continue to press the
ENTER/PROGRAM key to scroll through the displays until
you locate the display in question.
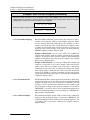
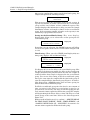
3. Enter the Sample Pacing settings. The sampler will
prompt you to select either time- or flow-pacing. Depending
on your selection, you will then be prompted to enter the
time- or flow-pulse interval between samples.
3-20