1
•
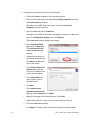
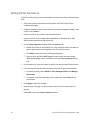
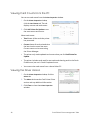
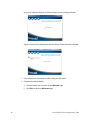
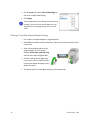
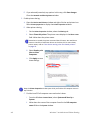
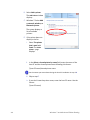
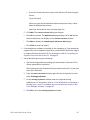
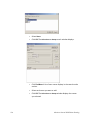
If you don’t have the printer name, enter the host PC name using the format:
\\host PC name\ When you type the last backslash without the printer name, a drop‐
down list displays host printers. Select the shared printer from the drop‐down list.
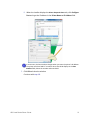
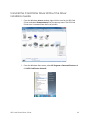
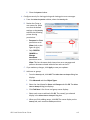
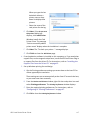
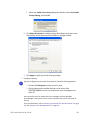
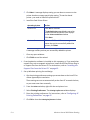
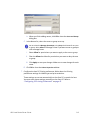
G. Click Next. The Connect to Printer dialog box displays.
H. Click Yes to continue. The Default Printer page displays set to Yes and the shared card printer icon displays on the Printers and Faxes window.
I.
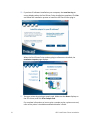
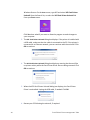
Click Next to display the Completing the Add Printer Wizard page.
J. Click Finish to close the wizard.
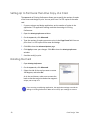
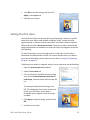
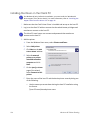
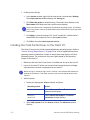
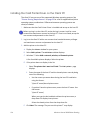
4. If card production software is installed on this computer, or if you need other support files, such as magnetic stripe fonts, install the XPS Card Printer Plug‐in or support files from the driver CD. For instructions, refer to “Installing the Support Files from the Driver CD” on page 15.
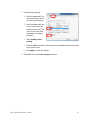
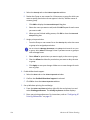
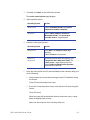
5. Set up Windows printing for card design. A. Get the Printing preferences settings you wrote down at the host PC for ribbon type and print resolution.
These settings are not set automatically to match the host PC, so you must enter them manually.
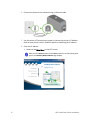
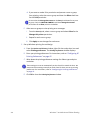
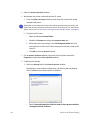
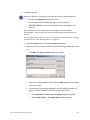
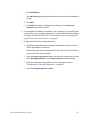
B. From the Printers and Faxes window, right‐click the card printer icon and select Printing preferences.
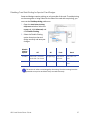
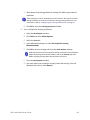
C. On the Printing Preferences window, enter the required printing preferences. For instructions, refer to “If the Windows Print Manager is already open, press F5 to update the current print job status in the Print Manager window.” on page 26.
D. Click OK to close the Printing Preferences window.
XPS Card Printer Driver Guide
B-7