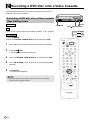
1
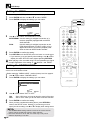
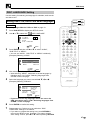
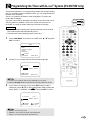
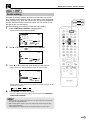
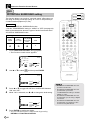
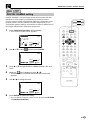
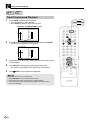
Programming the Timer with G-CODE® System
7
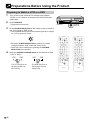
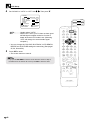
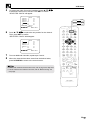
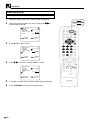
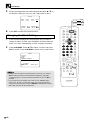
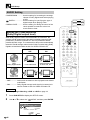
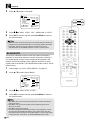
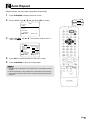
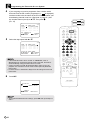
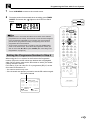
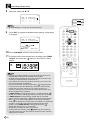
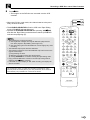
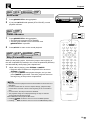
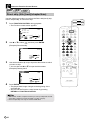
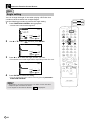
Press VCR MENU to return to the normal screen.
8
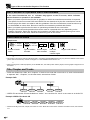
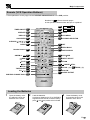
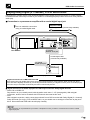
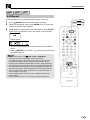
To set the product for automatic timer recording, press TIMER
ON/OFF and ensure the “ ” lights on the VCR Front Panel
display.
—
DV- NC70W
DV- NC70
DV- NC70X
VCR
G-CODE
PROG
L R
SEPVP D
TIMER
OPERATE ON/OFF
EJECT
VCR/DVD VCR MENU
ON
SCREEN SELECTOR DVD SETUP
DISPLAY
FUNCTION PROG/
CONTROL REPEAT
• Please be sure to check that the start and end times of two different
programmes do not overlap, as the remote control has been designed
to accept the basic individual G-CODE number only. If the recording
periods of two programmes overlap, the beginning of the second
programme will not be recorded.
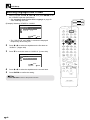
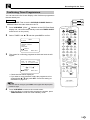
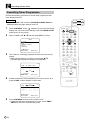
• To cancel the programmed G-CODE setting, select the TIMER setting
mode on the menu screen. Then select the programme number you
wish to cancel with ' / " and press CLEAR. (See “Cancelling Timer
Programmes” on page 72.)
TITLE
DVD MENU
CLEAR
RETURN
SET
ENTER
ZERO BACK
SKIP SEARCH
AM/PM
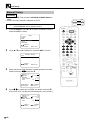
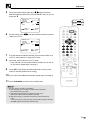
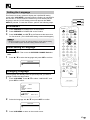
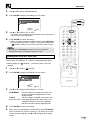
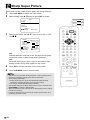
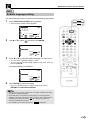
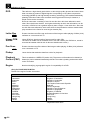
Setting the Programme Number In Step 4
When using the G-CODE system for the first time the Programme
number (PR) on the screen shows two dashes and is highlighted
white. Set it to be the same as the PR number to which your broadcasting channel is set into.
For instance if you can view CH 47 on programme (PR) 47, set the
On screen PR number to 47.
• You need to set this only once.
• If the channels are retuned you need to set the PR numbers again.
OPEN/
CLOSE
ANGLE
INPUT SELECT VCR DVD
/
REV
FWD
PLAY
REC
PAUSE/STILL
STOP
DPSS
SKIP
TAPE
SPEED
CH
SLOW
AUDIO
OUTPUT
VCR
DVD
PR: Preset Channel
DATE
15/12
--/---/---/--
1/2
PR START STOP
- - 1 2 : 0 0 PM 1 2 : 3 0PM S P
--:--:-- ---:--:-- ---:--:-- --
VCR/DVD COMBINATION
PR :PRESET CH
:SELECT
:CHANGE
SET:ENTER
MENU:EXIT
67
GB