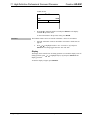
1
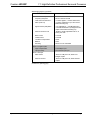
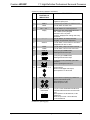
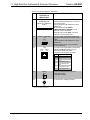
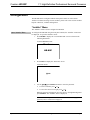
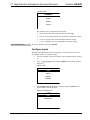
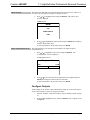
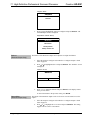
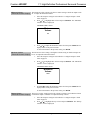
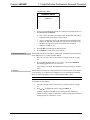
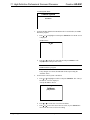
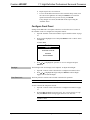
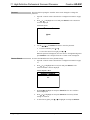
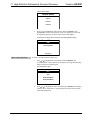
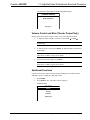
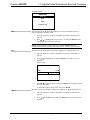
Crestron HD-XSP
7.1 High-Definition Professional Surround Processor
“Network Status” Menu
Network Status
Basic
Advanced
3.
Enable/Disable DHCP
Press ∧ or ∨ to highlight the desired level of detail to be displayed (Basic or
Advanced) and press SELECT.
•
Basic: Shows the status of the Ethernet link, the HD-XSP’s IP address,
and the hostname of the master control system.
•
Advanced: Shows the status of the Ethernet link, the HD-XSP’s MAC
address, the HD-XSP’s IP address, the subnet mask, the default router,
the DHCP setting, the hostname, the domain name, and the IP
addresses of DNS servers.
4.
Press ∧ or ∨ to scroll through the Ethernet details.
5.
Press SELECT to return to the previous menu.
The HD-XSP can obtain an IP address, subnet mask, and default router information
from a DHCP server. To enable or disable DHCP:
1.
Open the “Network” menu as described in “Configure Network” on page
28.
2.
Press ∧ or ∨ to highlight DHCP: On or DHCP: Off and press SELECT.
The setting toggles between “On” and “Off”.
If any changes were made, the HD-XSP reboots upon exiting the “Installer”
menu.
IP Address
The HD-XSP uses TCP/IP for communication with a control system. The IP address
can be manually set or obtained from a DHCP server. For information on enabling
DHCP to obtain an IP address, refer to “Enable/Disable DHCP” above.
NOTE: If DHCP is enabled, any changes made do not take effect.
To manually set an IP address:
1.
Open the “Network” menu as described in “Configure Network” on page
28.
2.
Press ∧ or ∨ to highlight IP Address and press SELECT.
If DHCP is enabled, an IP address and a message stating “DHCP On:
Address Invalid” is displayed. Otherwise, controls for setting the IP address
are displayed in the “IP Address” screen.
Operations & Installation Guide – DOC. 7446A
7.1 High-Definition Surround Processor: HD-XSP • 29