1
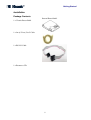
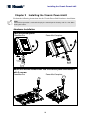
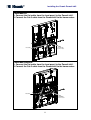
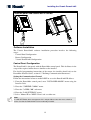
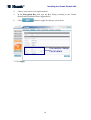
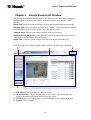
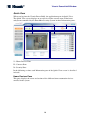
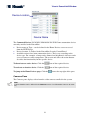
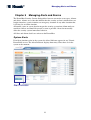
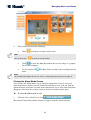
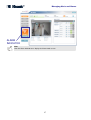
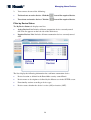
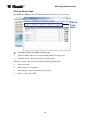
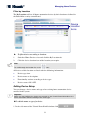
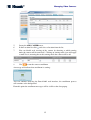
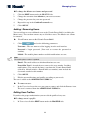
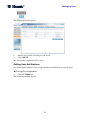
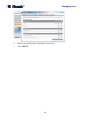
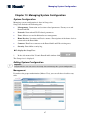
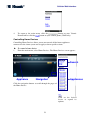
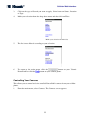
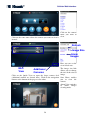
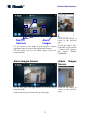
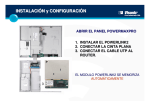
Managing Video Cameras
Chapter 7
Managing Video Cameras
The Visonic PowerLink2 supports up to 12 cameras. Cameras can be Wired (RJ-45
connector, Ethernet) or Wireless (Wi-Fi). Users who purchase the Visonic
PowerLink2 along with cameras can view the camera images on-line over the
Internet.
For each connected camera, the Visonic PowerLink2 stores 5 frames of pre-alarm and
10 frames of post-alarm images. Images are stored at the time of alarm and can be
used to verify the alarm by the user or alarm central station.
PowerLink2 keeps your privacy by allowing choosing arming modes of the alarm
system in which a camera will be blocked for viewing from the web interface.
The Visonic PowerLink2 supports a variety of cameras. For an updated list of
cameras go to the www.visonic.com web site and from the PowerLink2 page, click on
the "Supported Camera Range" link.
Adding Cameras
Notes
Wired and Wireless cameras, when added, must be connected to the Router one by one.
Please refer to the specifications page for a list of supported cameras
Cameras with static network settings must be added one at a time during this procedure.
Cameras with dynamic network settings (DHCP) can be added at the same time.
It is recommended to configure the router with DHCP server for LAN enabled.
To add a camera to the Visonic PowerLink2:
1.
Connect the camera to the Home Router (or to an Ethernet wall outlet) using
the supplied Cat-5 cable and to the mains.
2.
Wait for the camera to connect to the network (about 30 seconds).
3.
In the left frame of the Visonic PowerLink2 window click SETUP.
4.
Click the CAMERAS tab.
34