1
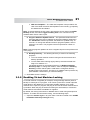
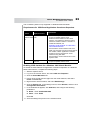
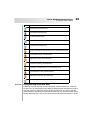
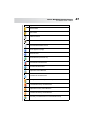
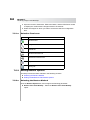
46 Chapter 6 Performing File-Level Backups 4. Depending on your VMware setup and inventory view type, open the applicable nodes: Hosts and Clusters Inventory View – Open the server node. Depending on your VMware setup, open the applicable nodes in the hierarchy (that is, the Datacenter, Cluster, Resource Pool, and vApp nodes) to display the available virtual machines. VMs and Templates View – Open the server node. Depending on your VMware setup, open the applicable nodes in the hierarchy (that is the Datacenter and folder nodes) to display the available virtual machines. 5. Right-click a virtual machine, and select Mount. 6. The plug-in tries to obtain a snapshot of the virtual disk files and mount it on the NVBU Client. Depending on the file size of the virtual machine disk files, the mount operation can take a few minutes to complete. When the snapshot is mounted successfully, the following changes occur: A folder with the same name as the selected virtual machine is created in the Working Directory (set in the Configure window). A Drives node appears below the selected virtual machine. Note: File-level mounting might fail if the boot disk is not the first disk among the disks attached to a virtual machine when they are ordered in controller:device order, that is, ide0:0, ide0:1, scsi0:0, scsi0:1, and so on. 7. Open the Drives node to display the available drives. 8. Select the drives, or open the nodes further to display the directory tree, and select the files and directories to be backed up. Important: After mounting a virtual machine, you should not select the Virtual Machine node on the selection tree. If you do so, the job will fail. To include all drives in a job, you must select the drives individually. 6.1.1.a Selection Tree Icons Icon Represents vCenter Server Datacenter Server ESX/ESXi Server Cluster