1
Installation and Setup
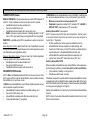
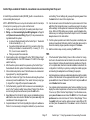
IMPORTANT! When determining the location for the W−Fi thermostat, be
sure it is in an area near enough to the homeowner’s Wi−Fi router to ensure
good communications signal between the thermostat and the router. (Hint:
use a smart phone with Wi−Fi to find and determine signal strength.)
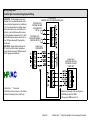
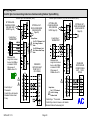
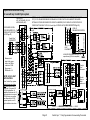
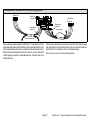
Refer to the Quick Start Guide for information about installing the thermostat
on a wall and for wiring diagrams for field wiring the thermostat to the system
using one of a number of possible configurations. (Wiring diagrams are also
shown beginning on Page 59 of this manual.)
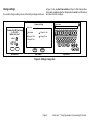
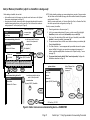
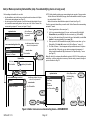
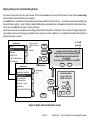
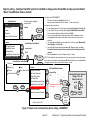
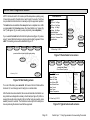
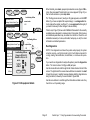
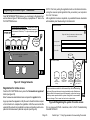
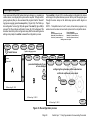
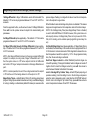
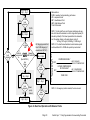
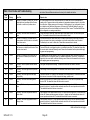
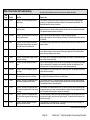
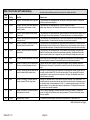
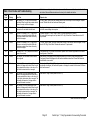
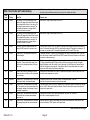
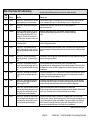
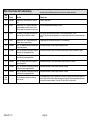
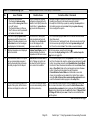
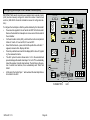
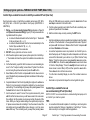
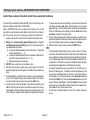
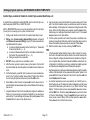
System settings (figure 2) appear first. As you use the up/down arrows to
scroll through the settings, the right hand side will show the current value.
For example, current value: 9:39 am Aug 15, 2012 shows the current date
for Time and Date.
system settings
Time and Date
NOTE − If electric heat strips are used with an Comfort Sync−enabled air handler, the strips MUST be configured on the air handler control (AHC) board
before beginning the discovery" sequence below.
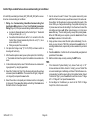
After all wiring connections are made, apply power to the system. 24VAC will
power up the thermostat.
Daylight Saving Time
Circulate Fan ON Time
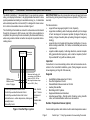
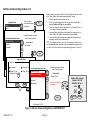
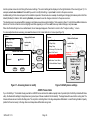
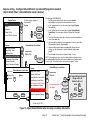
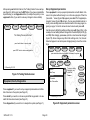
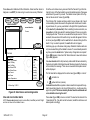
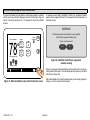
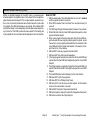
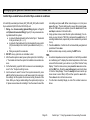
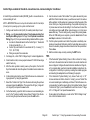
After power is applied to the thermostat for the first time, the processor
checks the system for installed communicating devices, the screen display
changes then is followed by Use this thermostat?" screen.
Dealer Phone
Touch press here to continue. During the setup
process, alerts may pop open to provide the installer with information that affects the setup.
Correct the cause of any such alerts prior to
continuing setup.
507064−01 11/12
Use this Thermostat?
To adjust a setting, highlight it, then
press edit
current value:
9:39 am Aug 15, 2012
System Name
edit
Dealer Name
Dealer Address
Dealer Email
Dealer Website
back
9:39 am Aug 15, 2012
press here
Figure 2. System settings" screen
Page 4
next