1
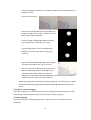
As a last step, adjust the iris diaphragm using the slider above the DIC condenser (Fig. 5).
First, fully open it and then, if needed, close it as much as necessary for enhanced contrast.
When you are done with DIC imaging, remember to turn the polarizer away from the light
path and push the analyzer back in.
3. Imaging
3.1 Zeiss AxioCam HRc 14-bit color CCD camera
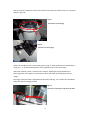
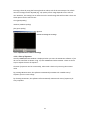
Turn the camera on by plugging the power cable in (Fig. 12). The green light indicates that
the camera is on. Alternating green and red light means that imaging is in progress.
The camera is coupled with the microscope with a 0.63x adapter.
Figure 10
Back side of the Zeiss AxioCam HRc
camera
3.2 Zeiss AxioVision software (version 3.1)
Log on to the computer with your personal HYAD-username. Choose ‘Log on to ATKK’. Start
the software by double-clicking the AxioVision-icon on the desktop. The camera should be
turned on before starting the software because it is only recognized during start-up. You can
access the online manual for AxioVision by pressing the F1 key.
3.2.1 Live view
Turn the left VIS/FP dial to FP position, so that the light will go to the camera (see "Settings
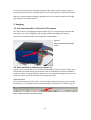
for light path", p. 3). Enable real-time video by clicking the LIVE-button in software (Fig. 11).
Figure 11 LIVE-mode button in AxioVision software
10