1
Installing the CalDigit VR2
The CalDigit VR2 is ready to use out of the box.
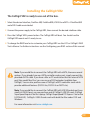
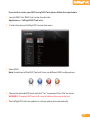
1 Select the desired interface, FireWire 400, FireWire 800, USB 3.0 or eSATA. A FireWire 800
and eSATA cable are included.
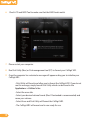
2 Connect the power supply to the CalDigit VR2, then connect the desired interface cable.
3 Press the CalDigit VR2's power button. The CalDigit VR2 will boot. You should see the
CalDigit VR2 mount and it's ready to use.
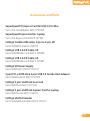
4 To change the RAID level or to customize your CalDigit VR2 use the LCD or CalDigit’s RAID
Tool software. For further instructions see the Configuring your RAID section of this manual.
Note: If you would like to connect the CalDigit VR2 with eSATA, there are several
options. If you already have an eSATA controller card or port, simply connect the
provided eSATA cable. If you have a Mac or PC workstation that has internal SATA
port (late model Mac Pros) you can use an eSATA extender (available from
CalDigit). You can also purchase one of CalDigit's eSATA controller cards which
provide additional features (FASTA-2ex, FASTA-2e or FASTA-4e).
Note: If you would like to connect the CalDigit VR2 with USB 3.0 and do not have
a built in USB 3.0 port, you can purchase one of CalDigit’s USB 3.0 cards (CalDigit
SuperSpeed ExpressCard for Laptop, CalDigit SuperSpeed PCI Express Card or the
FASTA-6GU3). CalDigit's USB 3.0 cards work with both the Mac under OS X and
Windows.
For more information visit www.caldigit.com.
09