1
K1EL
K42 CW Keyboard/Reader Kit Assembly Guide
Revision A.5
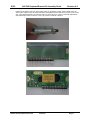
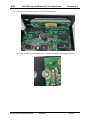
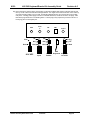
21) Then place a 4-40 nut/lockwasher on each side and tighten just enough to hold the display in place. Check
to be sure that the display is aligned horizontally by looking at it through the front panel window. You have
wiggle room for fine adjustment since the display is a loose fit on the threaded studs.
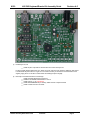
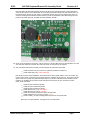
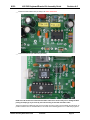
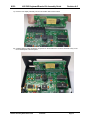
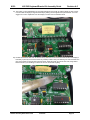
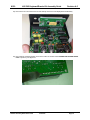
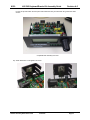
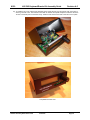
22) Double check that the K42 main PC board is firmly seated on the enclosure standoffs and that the display is
held firmly in place by the 4-40 nuts. Now very carefully sneak in with your soldering iron and tack solder two
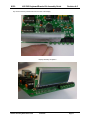
pins on the header to the K42 main board as shown. Solder the fourth pin in from each end, being careful
that the barrel of your soldering iron does not come in contact with anything.
K42 Kit Assembly Guide RevC PCB
6/13/2014
Page 15