1
Operating Instructions
Read this manual carefully before you use this unit and keep it handy for
future reference. For safe and correct use, please be sure to read the
Safety Information in the "Operating Instructions" of IS760 Series before using the machine.
This manual shows how to set the Endorser Unit to the IS760 Series and
how to use the unit.
Note
2 Screws
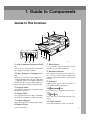
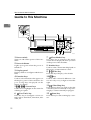
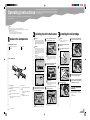
Guide to This Unit
6
7
A3
5
11
B4
81/
2
A4
B5
A5
1
51/
2
A5
6
B5
A4
81/
2
B4
11
3
2
A3
>P
4
S<
5
AJQ001S
1.
Ink Cartridge Box
5.
A nozzle for the ink is on the bottom of the box.
2.
Shutter Lever
3.
Scale
Open and shuts the ink nozzle.
A scale is printed indicate the print location.
4.
1/4
Rail
Guide for the ink cartridge box when setting
the print location.
©2005 G827-8601A
Screw Hole
Screw hole to fix the unit to the scanner.
6.
Hook
Use this hook when installing the unit
to the scanner.
7.
Connector
Connect the unit and the scanner.
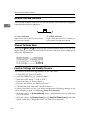
Turn off the power to the scanner and disconnect the power cable. See "Turning the
Power On/Off" of chapter 2 in the Operating
Instructions which is provided with the scanner.
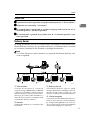
Limitation
❒ Updating will be required if your IS760 Series
scanner and/or Network Scanning Unit Type A
has an orange sticker. If your scanner and/or
machine have a sticker, contact your service representative. The illustrations show where the
stickers are located.
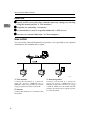
IS760 Series
Next to the rotary switch in the switch box on
the lower left of the front side of the scanner.
AJQ036S
Network Scanning Unit Type A
The under side of the machine.
XXXXXX XX.
XXXX-XX
X
XXXXX
AJQ034S
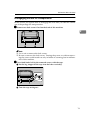
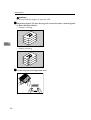
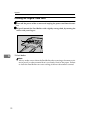
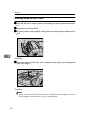
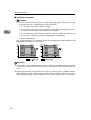
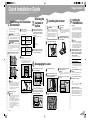
Take the metal bracket off by unscrewing the screws on the both
sides of the metal bracket.
AJQ002S
Note
❒ Use the tool that is provided with the scanner.
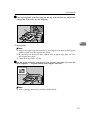
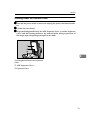
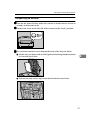
Connect the cable from the unit to
the connector on the scanner.
AJQ003S
Note
❒ Connect the cable with the indented side up as
the illustration. Align side of the black cable from
the unit and the black sticker of the connector
on the scanner.
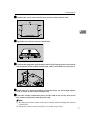
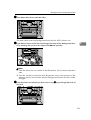
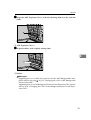
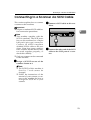
Hitch the hook of the Endorser Unit
to the notch on the scanner.
A3 11
B4 81/2
A4
B5 A5
5
51/2
A5 B5
A4
81/2 B4
11 A3
>PS<
AJQ004S
Important
❒ Keep the ink cartridge box on the left side than
the center of the rail when hitching the notch of
the unit to the scanner.
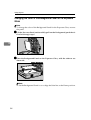
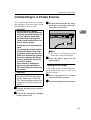
Fix the unit with the screws on the
both sides of the unit.
A3 11
B4 81/2
A4
B5 A5
5
51/2
A5 B5
A4
81/2 B4
11 A3
>PS<
AJQ005S
Note
❒ Use the screws those are provided with the Endorser Unit.
Installing the Ink Cartridge
○○○○○○○○○○○○○○○○○○○○○○○○○○○○○○○○○○○○○○○○○○○○○○○○○
Endorser Unit
Ink Cartridge
Preparation
○ ○ ○ ○ ○ ○ ○ ○ ○ ○ ○ ○ ○ ○ ○ ○ ○ ○ ○ ○ ○ ○ ○ ○ ○ ○ ○ ○ ○ ○ ○ ○ ○ ○ ○ ○ ○ ○ ○ ○ ○ ○ ○ ○ ○ ○ ○ ○ ○ ○ ○ ○ ○ ○ ○ ○ ○ ○ ○ ○ ○ ○ ○ ○ ○ ○ ○ ○ ○ ○ ○ ○ ○ ○ ○ ○
Operating Instructions (This manual)
○○○○○○○○○○○○○○○○○○○○○○○○○○○○○○○○○○○○○○○○○○○○○○○○○
○ ○ ○
Checking the Contents
○ ○ ○ ○ ○ ○ ○ ○ ○ ○ ○ ○ ○ ○ ○
○○○○○○○○○○○○○○○○○○○○○○○○○○○○○○○○○○○○○○○○○○○○○
Guide to the Components
Installing the Unit to the Scanner
Limitation
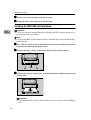
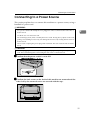
❒ Change the ink cartridge that has passed 6
months after opening the bag.
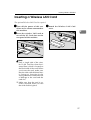
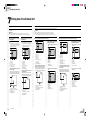
Take out the ink cartridge from the
plastic bag.
Peel off the tape on the ink cartridge.
AJQ019S
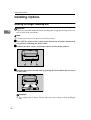
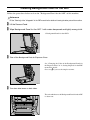
Pull down the ink cartridge box.
AJQ007S
Insert the ink cartridge.
A3
11
B4
AJQ008S
○ ○ ○ ○ ○ ○ ○ ○ ○ ○ ○ ○ ○ ○ ○ ○ ○ ○ ○ ○ ○ ○ ○ ○ ○ ○ ○ ○ ○ ○ ○ ○ ○ ○ ○ ○ ○ ○ ○ ○ ○ ○ ○ ○ ○ ○ ○ ○ ○ ○ ○ ○ ○ ○ ○ ○ ○ ○ ○ ○ ○ ○ ○ ○ ○ ○ ○ ○ ○ ○ ○ ○ ○ ○ ○ ○
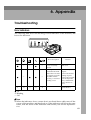
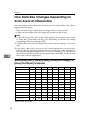
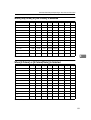
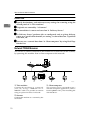
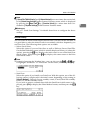
❒ This manual is described in the case of the TWAIN Driver is installed.
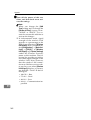
❒ It is required to install the higher version of TWAIN or ISIS driver than listed below to use the unit.
TWAIN Driver: Ver. 4.06
ISIS Driver: Ver. 1.10 (1.5.10505.10001)
To check the version of your TWAIN or ISIS driver, click [About...].
You can download the latest version of the drivers from our website.
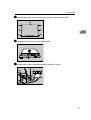
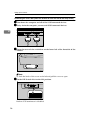
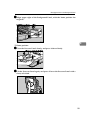
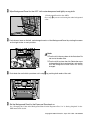
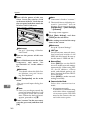
Push the ink cartridge and slide it
to the left till you hear the click
twice.
A3
11
B4
AJQ009S
Push up the ink cartridge box.
A3
11
B4
AJQ010S
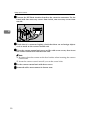
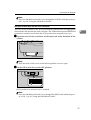
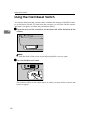
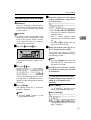
Connect the power cable and turn
on the power to the scanner.
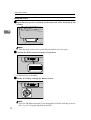
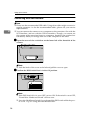
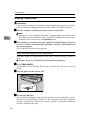
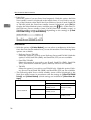
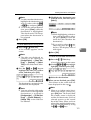
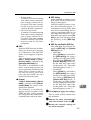
Clear the counter from the TWAIN
driver or ISIS driver in the CD-ROM
installed in your computer.
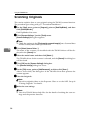
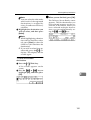
To reset the counter from the
TWAIN driver
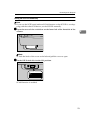
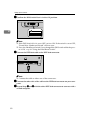
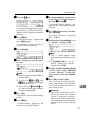
A Click [Initial Settings] of the TWAIN driver.
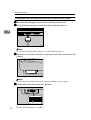
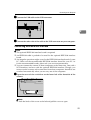
B Click [Stamp Settings] tab and click [Clear
Counter].
Counter is cleared.