1
2
2-15
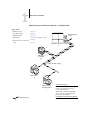
Fiery EX2101 on a NetWare network with NDPS
Tips for experts—NetWare networks
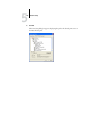
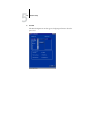
Setting up the Fiery EX2101 in an NDPS environment is similar to setting up any
other PostScript printer on the network. When setting up the Fiery EX2101 in such an
environment, refer to the following information:
•
Make sure you have a valid IP address for the Fiery EX2101 and for any workstations
that will print to it or run Fiery utilities.
•
In Fiery EX2101 Setup, enable TCP/IP and enter the IP address, subnet mask, and
gateway address for the Fiery EX2101. You can enter these manually or use DHCP or
BOOT protocols to assign the addresses dynamically.
•
Bidirectional communication features in NDPS are not supported on the Fiery EX2101.
Configuring a NetWare server for printing with NDPS
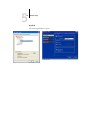
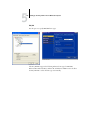
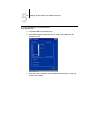
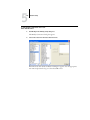
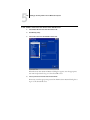
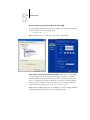
To configure a NetWare server for printing with NDPS, NDPS must be installed
during NetWare 5.x or later installation, and a Broker is running on the server. Unless
you have manually unloaded the Broker, it loads and runs when you install NDPS.
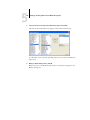
Make sure you are using the latest NetWare service pack and Novell gateway. Finally,
create an NDPS Manager. For more information, see your NetWare documentation.
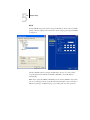
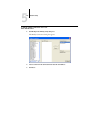
In Fiery EX2101 Setup, make sure you have enabled TCP/IP (see “TCP/IP Setup
options” on page 4-16) and LPD printing (see “LPD Setup options” on page 4-22) on
the Fiery EX2101. Ping the Fiery EX2101 (see “ping <IP address>” on page 2-18) to
verify that TCP/IP communication is successful.