1
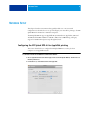
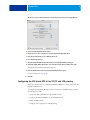
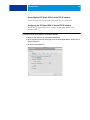
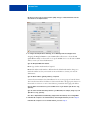
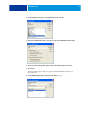
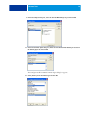
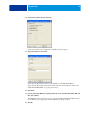
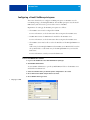
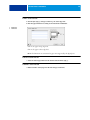
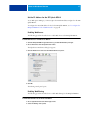
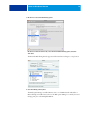
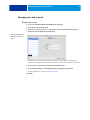
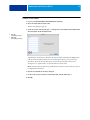
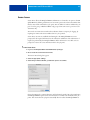
NETWORK SETUP
14
TO CONFIGURE 802.1X (MAC OS 10.4)
1 Double-click Internet Connect in the Applications Folder.
2 Choose New 802.1X Connection from the File menu.
3 Choose Edit Configurations from the Configuration menu.
4 Choose Built-In Ethernet 1 from the Network Port menu.
5 Specify the other information on the pane as appropriate for your network.
TO CONFIGURE 802.1X (MAC OS 10.5)
1 Choose System Preferences from the Apple menu on the EFI Splash RPX-iii, and then choose
Network preferences.
2 Click Advanced.
3 Click 802.1X.
4 Specify the information on the pane as appropriate for your network.
Configuring the EFI Splash RPX-iii for NDPS Printing
The Novell NetWare server must be set up and configured prior to installing and configuring
the NetWare Client. The NetWare Client must be installed on the workstation being used to
configure the NetWare server for NDPS printing.
N OTE : Use the latest NetWare support pack and NetWare Client. For more information, see
the documentation that accompanies NetWare.
The following procedures assume NDPS has been installed on your NetWare server and is
properly configured. An NDPS Broker and NDPS Manager are required for configuring
NDPS printing. If these are not in place, contact your network administrator.
TO ADD THE EFI SPLASH RPX-iii PPD TO THE NOVELL NETWARE NDPS BROKER
1 Log on to the NetWare file server with Administrator privileges.
2 Start NetWare Administrator.
N OTE : To start NetWare Administrator, go to the Sys:Public\Win32 folder on the NetWare
server and click the nwadmin32 icon.
3 Double-click the Broker icon in the NetWare Admin window.