1
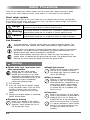
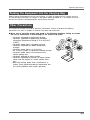
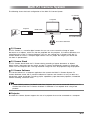
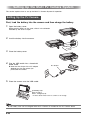
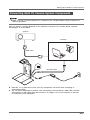
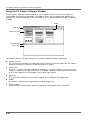
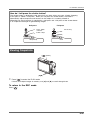
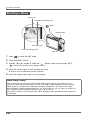
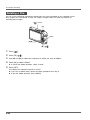
PJ Camera Software Overview and Basic Operations
2.
3.
4.
Point the PJ Camera at the
whiteboard.
Recording area
Point the camera at
the whiteboard so it
is at an angle that
is within the
allowable range.
While watching the PJ Camera’s
monitor screen, use the camera’s
zoom buttons to compose the image.
After the image is composed the way
you want, click the [Shutter] button
on the Projection Area Capture
dialog box.
z The extracted whiteboard contents
produced by Projection Area Capture
is combined with the original
projection image, and the result is
stored as an image file.
Image projection area
Projection Area Capture Image Files
Image files created with Projection Area Capture are saved in the folder at the directory path shown
below.
Folder (Initial Default):
Windows 2000/XP
C:\Documents and Settings\All Users\Documents\CASIO\PJ_System\Projection_Area_Capture
Windows Vista
C:\Users\Public\Documents\CASIO\PJ_System\Projection_Area_Capture
File Name:
File names are generated automatically in accordance with the recording date.
Example: 20070218T104525.JPG
(Year: 2007; Month: 2; Day: 18; Time: 10:45:25)
Image Resolution:
XGA (1024 × 768)
800 × 600 when an SVGA computer screen is being used.
E-40