1
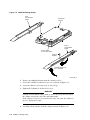
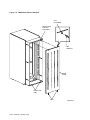
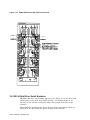
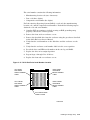
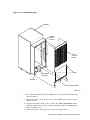
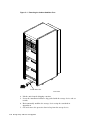
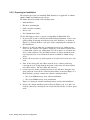
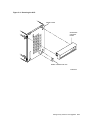
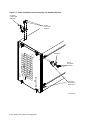
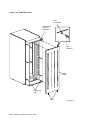
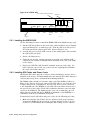
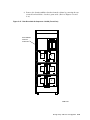
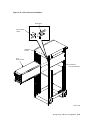
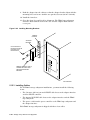
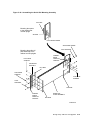
1. Unlock the two quarter-turn fasteners at the top of the panel. Use a hex
wrench to turn the fasteners counterclockwise.
2. Grasp the panel by its edges, tilt it toward you, and lift it up to disengage the
pins at the bottom. Remove and store the panel in a safe place.
To replace the H9A00 rear panel:
1. Lift the panel into place, and fit the pins into the holes located at the top of
the filler panel.
2. Push the top of the panel into place, and turn the fasteners one-quarter turn
clockwise to lock.
4.2.2 Replacing the Power Controller
Use the following procedure to remove the power controller from the H9A00
cabinet.
WARNING
To prevent injury when lifting an object weighing more than 18.2 kgs (40
lbs.), use at least two people to remove and install enclosures.
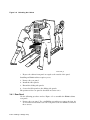
1. Take all storage devices in the cabinet off line and spin them down.
2. Remove the cabinet rear panel.
3. Set the power on/off switch on all storage devices to the off position.
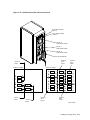
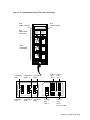
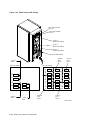
4. Set the Bus/Off/On switch on the power controller to the off (center) position.
5. Set the power controller circuit breaker (CB1) to the off (down) position.
6. Unplug the power cord from the power source.
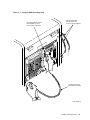
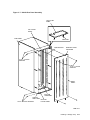
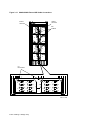
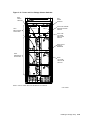
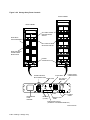
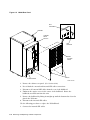
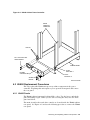
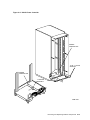
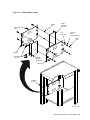
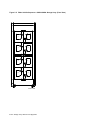
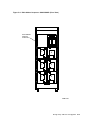
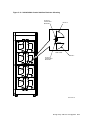
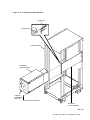
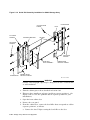
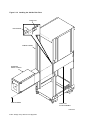
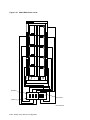
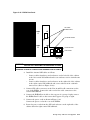
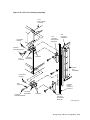
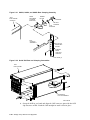
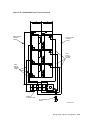
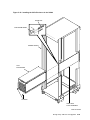
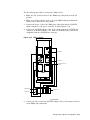
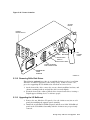
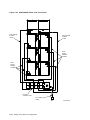
7. Remove the four screws that secure the power controller to the cabinet frame.
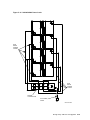
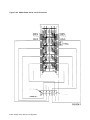
(Refer to Figure 4–6.) Keep these screws in a safe place.
Note
Proceed to Step 12 if there are no enclosures installed in either of the
bottom positions.
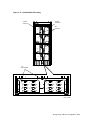
8. Disconnect the power cords from the bottom enclosures. Disconnect and
remove the enclosure internal SDI cables.
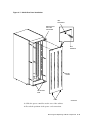
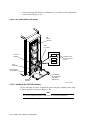
9. Open and remove the cabinet front door.
10. Remove the mounting screws from the front of the enclosure. Keep these
screws in a safe place.
11. Slide each of the bottom enclosures to the front and remove them from the
cabinet.
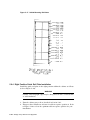
12. Cut the cable tie that secures the coiled power cords to the base of the
cabinet.
4–10 Removing and Replacing Cabinet Components