1
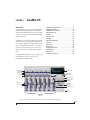
MESSAGE CENTER
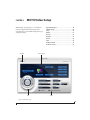
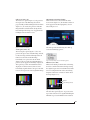
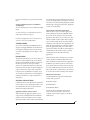
The Message Center displays fly-over help for items
in the CueMix FX window.
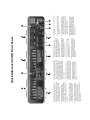
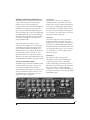
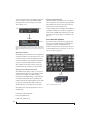
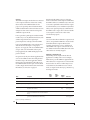
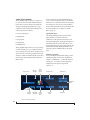
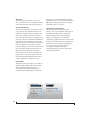
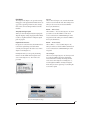
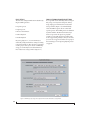
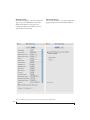
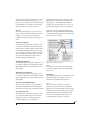
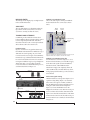
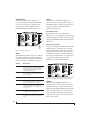
Talkback / Listenback mic input
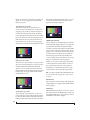
Choose the audio input to which your Talkback
and/or Listenback mic is connected, as shown
below:
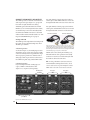
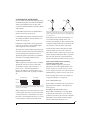
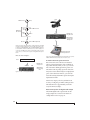
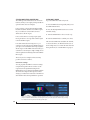
SOLO LIGHT
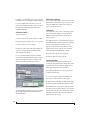
The Solo light (Figure 9-1) illuminates when any
input in the current (active) mix bus is soloed
(even if it is currently scrolled off-screen).
Talkback
mic input
Listenback
mic input
TALKBACK AND LISTENBACK
CueMix FX provides Talkback and Listenback
buttons. Talkback allows an engineer in the control
room to temporarily dim all audio and talk to
musicians in the live room. Conversely, Listenback
allows talent to talk to the control room.
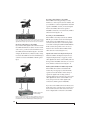
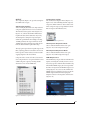
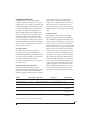
Hardware setup
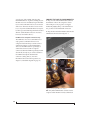
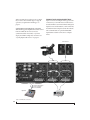
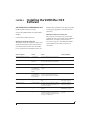
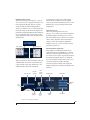
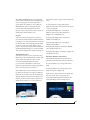
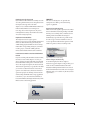
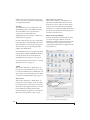
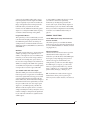
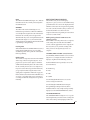
Figure 9-2 below shows a typical hardware setup
for Talkback and Listenback. For Talkback, set up a
dedicated mic (with a preamp) in your control
room and connect it to an input on the V4HD. For
Listenback, set up a dedicated listenback mic in the
live room for the talent and connect it to another
mic input. For talkback output, set up a headphone
distribution amp or set of speakers in the live
room, and connect it to the V4HD’s analog out 7-8,
as demonstrated below in Figure 9-2.
Control room
Talkback
mic
Mic preamp
Analog In 1
Analog out 1-2
Analog out 7-8
Analog In 3
Mic preamp
Listenback
mic
Live room
Headphone distribution amp
Figure 9-2: Typical hardware setup for Talkback and Listenback.
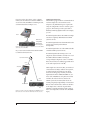
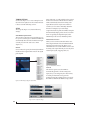
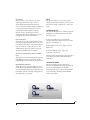
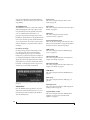
Talk / listen routing
Listen dim
Talk dim
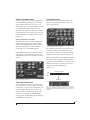
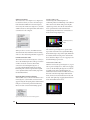
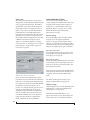
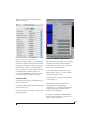
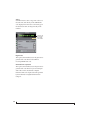
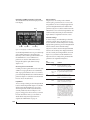
Figure 9-3: Specifying the talkback and listenback mic inputs. Use the
input fader for the chosen input to control the mic volume.
Talkback / Listenback monitor dim
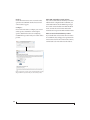
Use the Talk/Listen dim knobs (Figure 9-3) to set
the amount of attenuation you would like to apply
to all other audio signals (besides the talkback/
listenback volume) when Talkback and/or
Listenback is engaged. To completely silence all
other CueMix audio, turn them all the way down.
Audio playing back from disk (your host software)
is not affected.
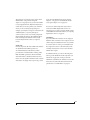
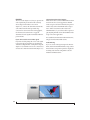
Talk / Listen signal routing
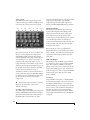
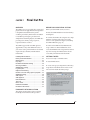
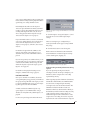
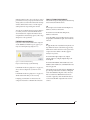
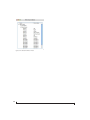
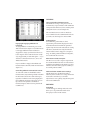
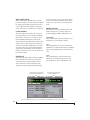
Click the Talk/Listen routing button (Figure 9-3) to
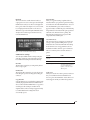
open the routing dialog (Figure 9-4). Check the
boxes next to the outputs on which you’d like to
hear the Talkback mic and/or Listenback mic. For
example, as demonstrated in the diagram in
Figure 9-2, to hear the Talkback mic on the
headphones in the live room, check the Analog 7-8
check box in the Talk column as demonstrated in
Figure 9-4. To hear the Listenback mic on the main
monitors in the control room, check the Analog 1-2
check box in the Listen column, also demonstrated
in Figure 9-4.
82
CUEMIX FX