1
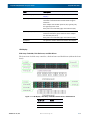
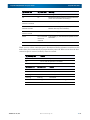
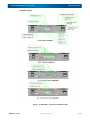
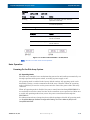
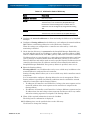
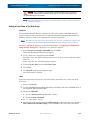
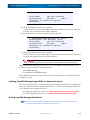
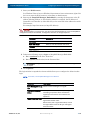
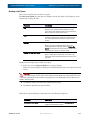
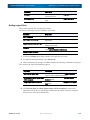
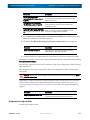
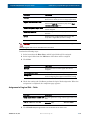
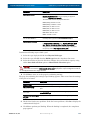
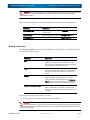
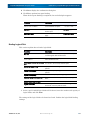
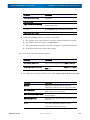
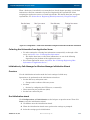
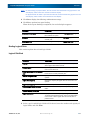
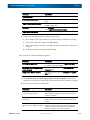
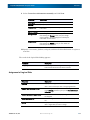
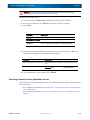
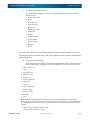
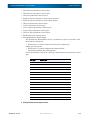
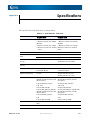
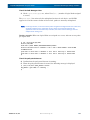
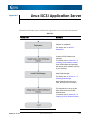
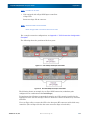
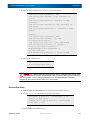
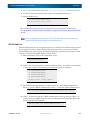
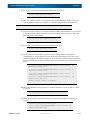
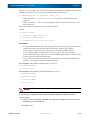
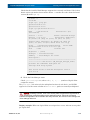
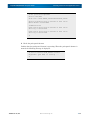
SnapSAN 3000/5000 Disk Array User Guide Initialization by SnapSAN Manager Initialization Wizard • Check that the application servers to which the logical disk has been assigned can access the disk array. • For details about the procedure, see “Checking Connection from Application Server”. Initialization by SnapSAN Manager Initialization Wizard Overview Use initialization wizard to make the basic settings of a disk array. Operations to be performed on the initialization wizard are: 1. Set the disk array subsystem name • Change and/or confirm a disk array subsystem name. 2. Set time • Set time by configuring the NTP server, or manually. 3. Set host connection ports 4. Set iSNS server • Register the iSNS server information for setting the iSNS server. Start Initialization Wizard Click Configuration and Initialization on the left pane to open the menu. Then click Start to start the initialization wizard. Before the initialization starts, the following confirmation message appears. 5. Click Yes to start the Initialization Wizard. When the Initialization Wizard starts, perform the settings as prompted. 1. Confirm the Normal Setting check box is selected and then click Next. 2. Perform the following steps to change a disk array name: a. Enter a new name in the New Disk Array Subsystem Name box. b. Confirm the name and click Next. IMPORTANT: For the procedure when the Set the time manually option is selected, see Configuration Setting Tool User's Manual (GUI) for the SnapSAN 3000/5000. 3. To set NTP server, enter the required information and click Next. 4. Select a port from the host connection port list and click Edit. The dialog box for editing the settings of the selected port appears. 10400386-001 07/2012 ©2012 Overland Storage, Inc. 4-2