1
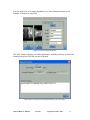
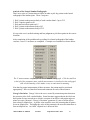
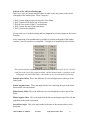
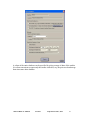
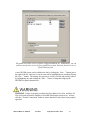
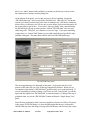
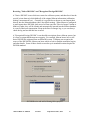
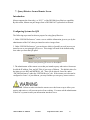
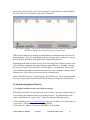
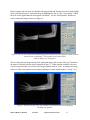
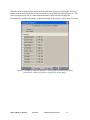
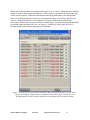
Next, we can configure Metron to send to this particular recipient when the Metron
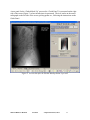
user manually clicks a “DICOM Send” button, or, automatically when a CR or DR
image is taken with Metron (This only available if you have a DR or CR system which
is based on Metron). If you choose the “Auto-Send” option, you have the further
option of having the image sent immediately when acquired, or only when the user
clicks the “Accept” button. Use of the later allows the user to possible rotate, crop,
and filter the image before pressing “Accept” to save the image locally and send it out
via DICOM communications.
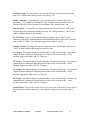
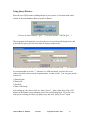
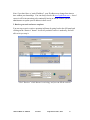
The last two items in the panel allow you to configure the behavior of the DICOM
send function should the transmission fail, or should it succeed. Note that in any case
you will always get a pop-up telling you of a transmission failure. The pop up telling
you of success is optional (only downside: the click required to clear it off the screen
after you see it). In addition to the failure pop-up and the optional success pop-up is a
log file which is always kept in which you can review all the details of the DICOM
sending activity.
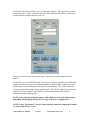
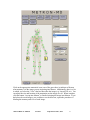
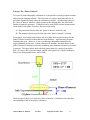
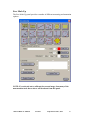
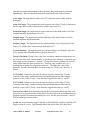
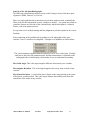
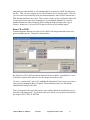
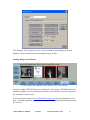
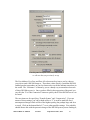
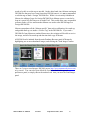
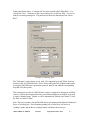
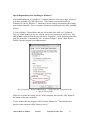
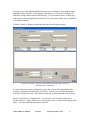
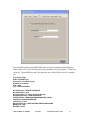
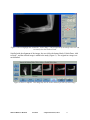
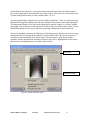
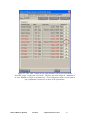
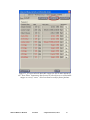
The DICOM Send tab provides some controls and supports a log of all sends.
In the panel shown above, you can see where you can pop up the log file, or clear it
out. Also, the panel shows how many images are in the queue waiting to be sent, and
Metron-MD User Manual
Version 7
© EponaTech LLC, 2013
45