1
Network Setting
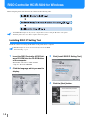
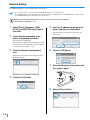
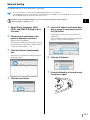
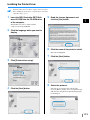
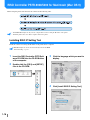
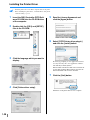
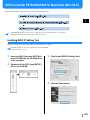
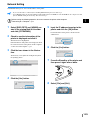
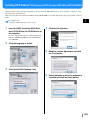
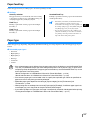
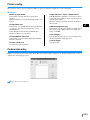
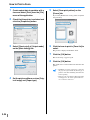
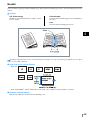
Start RISO IP Setting Tool and set the IP address of the printer.
• If you set the IP address continuously after installing RISO IP Setting Tool, start with step 2.
• To run RISO IP Setting Tool from the RISO Controller HC3R Software CD-ROM, insert the CD-ROM into the computer and click
[Execute RISO IP Setting Tool from CD]. Then start with step 2.
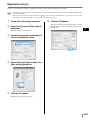
1
2
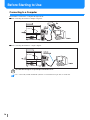
Before starting the following operation, be sure to connect the printer to the computer.
"Connecting to a Computer" )p.iv
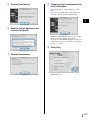
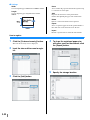
Select [Start], [Programs], [RISO
HC3R], and [RISO IP Setting Tool] in
this order.
5
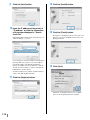
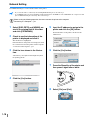
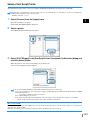
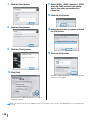
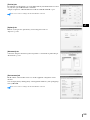
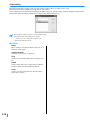
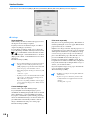
Input the IP address to assign to the
printer and click the [OK] button.
For the IP address of the printer, ask the network
administrator.
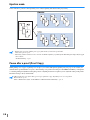
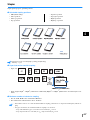
Check that the information of the
printer is displayed and click it.
The information is highlighted.
If the information of the printer is not displayed, check
the connection between the printer and the computer.
"Connection with Computer" )p.iv
3
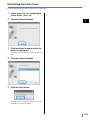
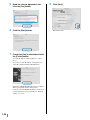
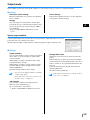
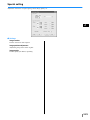
Click the [Network Configuration]
icon.
6
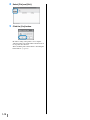
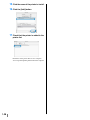
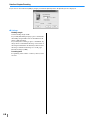
Click the [OK] button.
7
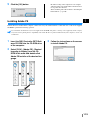
Press the Sleep Key of the printer and
then press it again.
8
Select [File] and [Exit].
Alternatively, select [Network Configuration] from
the [Settings] menu.
4
1-4
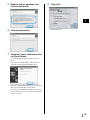
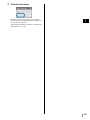
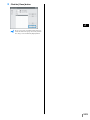
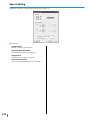
Click the [Yes] button.









![1 Click the [OK] button.](http://vs1.manualzilla.com/store/data/005894494_1-d1f52ee6fd3b2146a5f252d3f1858c3b-150x150.png)

![4 Haga clic en el botón [Siguiente].](http://vs1.manualzilla.com/store/data/006302360_1-bfeeab568eca6d90d29143bdf4061d20-150x150.png)
![[4] para - Riso.com](http://vs1.manualzilla.com/store/data/006041379_1-f987c63d0f56da21f929a771461d5686-150x150.png)
![2 Haga clic en el botón [Aceptar].](http://vs1.manualzilla.com/store/data/006292855_1-18424f3b5bf7ebf043fd2e6aa576beb6-150x150.png)