1
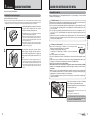
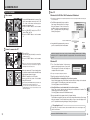
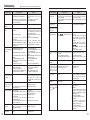
PHOTOGRAPHY MENU
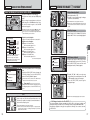
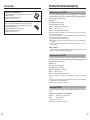
✽ Displaying the menus (➡P.48)
PHOTOGRAPHY MENU
1
0
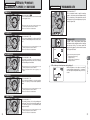
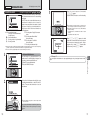
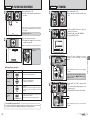
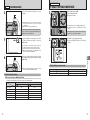
MF (Manual Focus)
2
0
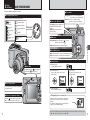
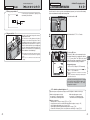
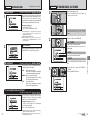
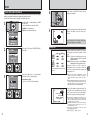
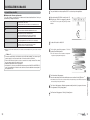
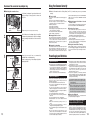
1 Hold down the “D” button.
2 Press the “T” or “W” button to adjust the focus.
Use the LCD monitor to check the focus.
10
ISO 80
+
Moves the focus further.
+
Moves the focus closer.
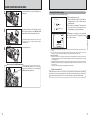
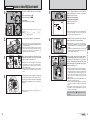
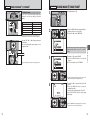
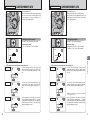
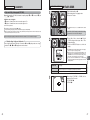
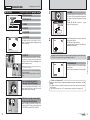
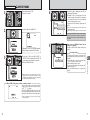
f CONTINUOUS SHOOTING
1
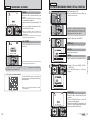
Select the continuous shooting mode in the
Photography mode.
CONT.
FINAL 4
BRACKETING
ACKETING
TOP 4
OFF
◆ Mastering manual focusing ◆
250
F5.6
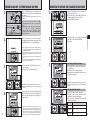
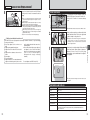
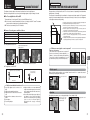
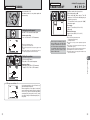
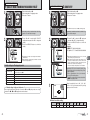
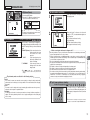
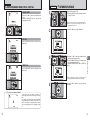
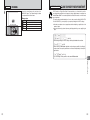
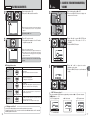
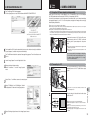
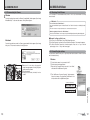
ç PHOTOMETRY
PHOTOMETRY
AVERAGE
SPOT
MULTI
The image is unfocused when the camera moves.
Use a tripod to avoid camera shake.
2
10
ISO 80
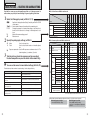
Available Photography mode:
! In
●
the “B ”, “m ”, “, ”, “. ”, “/ ” and “r ” modes, light
metering is fixed at the MULTI setting and cannot be
changed.
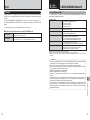
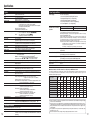
◆ The photometry modes are effective for the following subjects ◆
h MULTI
In this mode, the camera uses automatic scene recognition to analyze the subject and provide
optimum exposure in a wide range of shooting conditions. This mode should be used for everyday
photography.
h SPOT
This mode is useful for subjects with strongly contrasting light and dark areas where you want to
achieve the correct exposure for a particular feature.
h AVERAGE
The advantage of this mode is that the exposure tends not to change for different compositions or
subjects. This mode is particularly effective for shots of people wearing black or white clothing and
shots of scenery.
250
F5.6
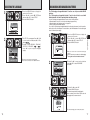
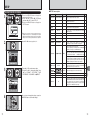
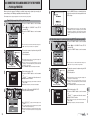
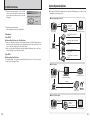
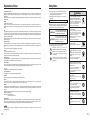
f: Top 4-frame continuous shooting
j: Auto bracketing
k: Final 4-frame continuous shooting
h: Long-period continuous shooting
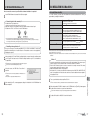
◆ Notes on using the continuous shooting modes ◆
h Shooting continues as long as you hold down the shutter button. In auto bracketing mode however,
just press the shutter button once to shoot 3 frames.
h If there is insufficient space on the xD-Picture Card, as many frames as can be recorded on the
available space are shot. When auto bracketing, if there is insufficient space on the xD-Picture Card
to record 3 frames, no pictures are taken.
h The focus is determined in the first frame and cannot be changed in mid-sequence.
h The exposure is determined in the first frame, but in Long-period continuous shooting the exposure is
adjusted for the scene being shot.
h The speed of continuous shooting varies depending on the shutter speed.
h The speed of continuous shooting does not change with the quality setting.
h The flash cannot be used as the flash mode is set to Suppressed flash.
h For continuous shooting, final 4-frame continuous shooting and pictures taken using auto bracketing,
the results are always displayed after you shoot. To choose whether or not to record the images, set
“IMAGE DISP.” in “SET-UP” to “PREVIEW” (➡P.79). Note that pictures taken using Long-period
continuous shooting are recorded without displaying the results.
3
Advanced Features
Use this mode for scenes where the brightness of
the subject and background differ markedly so that
the MULTI setting is unlikely to achieve the desired
result.
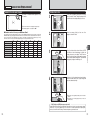
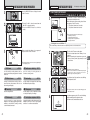
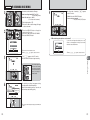
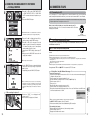
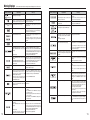
) MULTI (Pattern): Light metering where the
camera assesses the scene
and selects the correct
exposure.
_ SPOT:
Light metering where the
exposure is optimized for the
center of the image.
+ AVERAGE:
Light metering where an
average value for the entire
image is used.
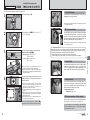
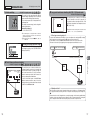
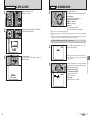
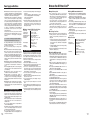
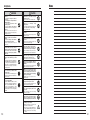
When setting the Continuous shooting mode
(except for “OFF”), the selected mode appears on
the LCD monitor.
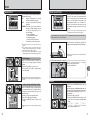
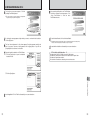
f Top 4-frame continuous shooting
Available Photography mode:
STORING
This mode shoots up to 4 frames at intervals as
short as 0.3 seconds. When taking the pictures, the
images appear (in sequence from the left) and are
recorded.
! The
●
maximum file recording time using the continuous
shooting is 15 seconds when recording in xD-Picture Card.
54
55