1
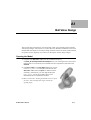
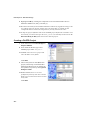
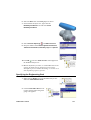
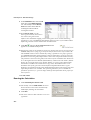
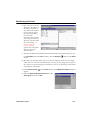
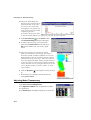
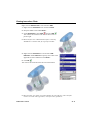
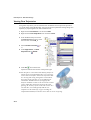
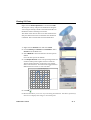
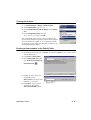
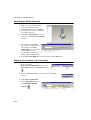
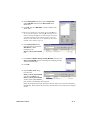
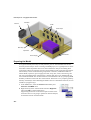
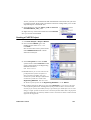
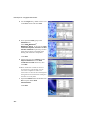
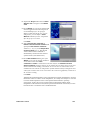
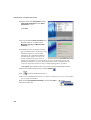
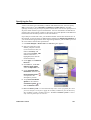
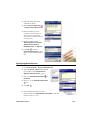
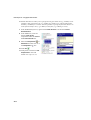
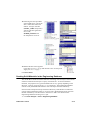
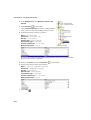
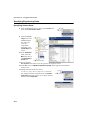
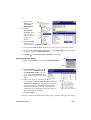
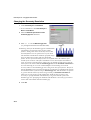
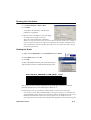
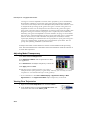
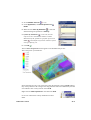
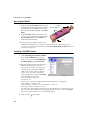
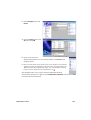
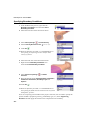
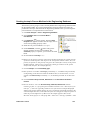
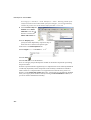
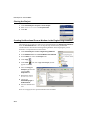
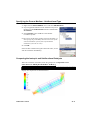
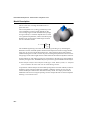
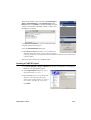
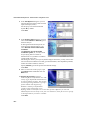
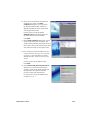
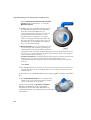
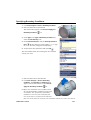
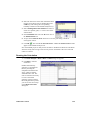
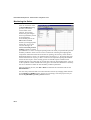
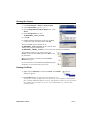
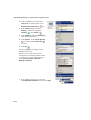
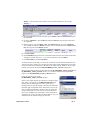
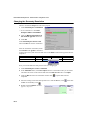
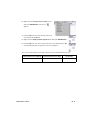
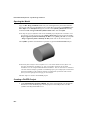
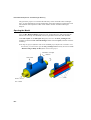
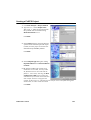
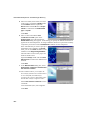
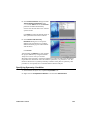
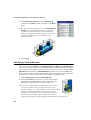
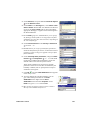
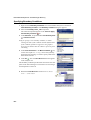
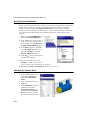
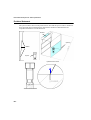
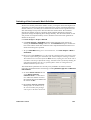
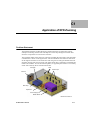
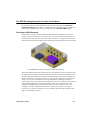
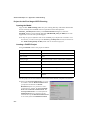
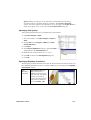
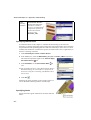
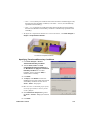
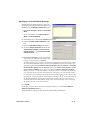
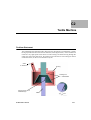
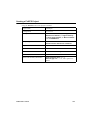
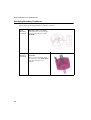
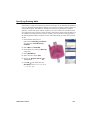
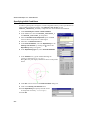
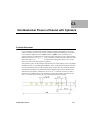
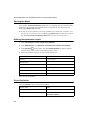
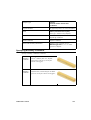
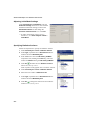
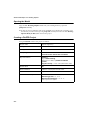
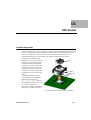
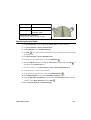
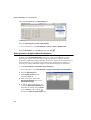
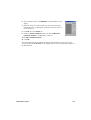
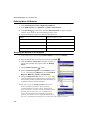
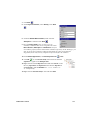
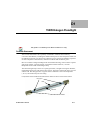
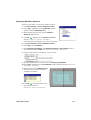
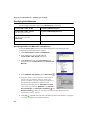
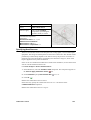
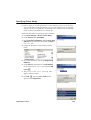
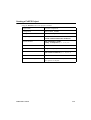
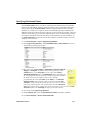
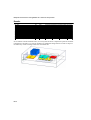
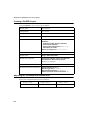
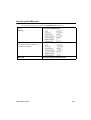
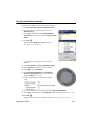
Advanced Examples: C1 - Application of EFD Zooming Project for the First Stage of EFD Zooming Opening the Model Copy the C1 - EFD Zooming folder into your working directory and ensure that the files are not read-only since FloEFD will save input data to these files.Open the enclosure_assembly.asm assembly. In the Select Instance dialog box, select the GLOBAL instance. Notice that the heat sink (HEATSINK_NO1_SC.PRT) has its cuts suppressed, so it looks like a parallelepiped. To skip the project definition and run the FloEFD project defined in accordance with the tutorial, you will need to open the enclosure_assembly.asm assembly located in the C1 - EFD Zooming\Ready To Run folder and run the desired projects. Creating a FloEFD Project Using the Wizard create a new project as follows: Project name Zoom – Global – L4 Configuration name GLOBAL Unit system USA Analysis type Internal; Exclude cavities without flow conditions Physical features No physical features are selected Fluid Air Wall Conditions Adiabatic wall, Zero roughness Initial Conditions Default conditions Result and Geometry Resolution Result resolution level set to 4, other options are default For this project we use the automatic initial mesh and the default computational domain. Notice that Level of initial mesh is set to 4 in accordance with the Result resolution level specified in the Wizard. The Result Resolution defines two parameters in the created project, namely, the Level of initial mesh and the Results resolution level. The Level of initial mesh is accessible from the Initial Mesh dialog box and governs the initial mesh only. The Results resolution level is accessible from the Calculation Control C1-4