1
Manual Configuration
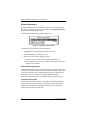
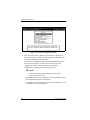
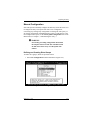
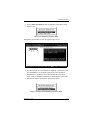
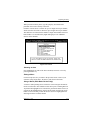
• Select Cancel Pack from the Pack Definition menu to release the
drives in a pack, highlight any drive in the pack to be released, and
press the Enter key.
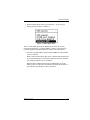
9. When you have finished defining drive packs, press the Esc key to
return to the Pack Definition menu.
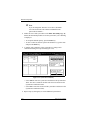
☛ Note
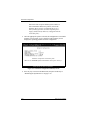
If you have included all of the physical drives into a
single drive group, the drive group will be
automatically arranged and the System Drive
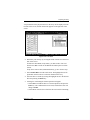
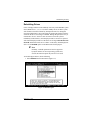
Definition menu will appear, as shown in Figure 2-21.
If this is the case, proceed to “Defining and Creating a
System Drive” on page 2-26.
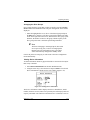
Changing or Cancelling a Drive Group
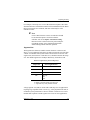
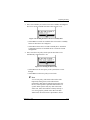
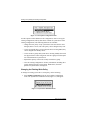
To change a drive group, you must first delete the drive group, and then recreate the group. To delete a drive group, select Cancel Pack from the Pack
Definition menu.
☛ Note
You can only cancel the most recently-created drive
group. This means that if you’ve defined three drive
groups, and then decide that you want to change the
contents of the first drive group, you’ll have to delete
all three groups - the current, or third group, then the
second group, and finally the first group. Before
deleting any drive groups, though, you may want to
write down the contents of the drive groups that you
do not want to change. When you’ve changed the first
group, you can then quickly recreate the second and
third groups from your notes.
Creating a Standby or Hot Spare Disk
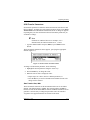
To create a standby, or hot spare drive, do not include the device as a part of
any drive group. The device status will change from RDY to SBY when the
configuration is saved to memory. Saving the configuration is explained later
in this chapter.
2-24
DACCF User’s Manual