1
•
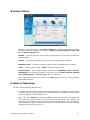
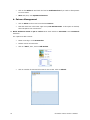
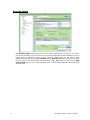
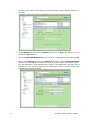
Click Save when finished with that patron-item policy combination. Then click on the
Exceptions button which should then turn yellow. An Alert icon will appear on the tab
where the exceptions have been made, but you will not be able to see the exception without having that tab in focus and clicking on the Exceptions button again. Then the field
with the red outline will mean that that is where the exception is and the exceptions value
is the one showing.
•
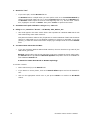
Repeat on all patron-item policy combinations until you have made all the exceptions that
you want.
Once a policy has been created, it must be assigned to a patron or item in order for it to be of
any use. It may be assigned in the Patrons or Items management windows on a one-by-one
basis or from Circulation using the UI or UP Circulation commands, or globally using Utilites.
Call Number Policy Mapping preferences allow you to enter the call number range associated
with an item policy. Otherwise, Alexandria will not automatically assign policies based upon call
number range or medium type to the items as the records are imported. Items are assigned the
default policy specified in the System Preferences or Import window when they are added.
Just to reiterate, if you create a Fiction policy, Alexandria will not put any of the fiction items on
that policy unless you have set up the Call Number Policy Mapping Preferences. If not, you
must either find each fiction title, unlock the title and change the policy yourself, OR choose to
replace the policy in Utilities, selecting by call numbers starting with FIC, OR go to Circulation, type UI and press <enter>, select the Fiction policy and scan each copy to change to that
policy. Also, running the utility will not apply to future fiction items entered; it only applies to
items currently in the data.
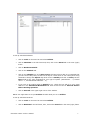
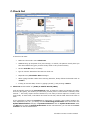
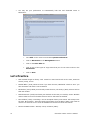
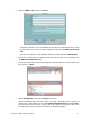
To set call number mapping:
82
•
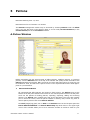
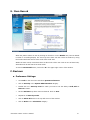
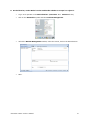
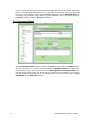
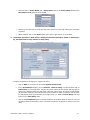
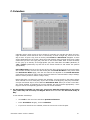
Go to Edit on the menu bar and select System Preferences.
•
Click on Call Number Policy Mapping in the System Administration category.
•
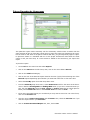
Click on the Add (+) icon in the bottom-left corner of the window.
•
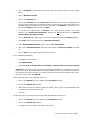
Fill in the Starting With and Ending With fields with call numbers to represent the range
of the call numbers to be assigned to a certain policy
•
Fill in the Library if you are in a Central Union system.
•
Select the appropriate policy from the drop-down menu at the bottom of the window.
•
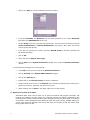
Click on Save on the window.
•
Repeat until you have set all call number mappings that you want to set.
•
Click on Save on the System Preferences window.
Alexandria v6 Basic Teacher’s Manual