1
Deploying PeopleSoft with Stingray Traffic Manager
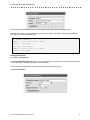
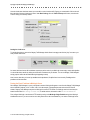
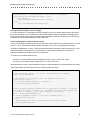
Once the virtual server has been created, you must edit it to make it use the traffic IP group you created earlier. Click on the edit
link to the right of the new virtual server's name. Under Basic Settings, click the Traffic IP Groups radio button, and select the
Traffic IP Group you've already created:
Starting the virtual server
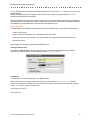
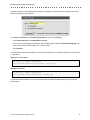
To start the virtual server, return to the Stingray Traffic Manager Admin Server home page, and click the “play” icon next to your
newly created virtual server:
As created, this virtual server will load balance requests across the nodes in your WebLogic cluster using a round robin algorithm.
You should be able to test this by visiting one of the traffic IP addresses in your browser. You can use Stingray Traffic Manager's
activity graph to confirm that the load balancing is happening correctly.
Note, however, that since you haven't yet enabled session persistence, PeopleSoft won't work correctly. Enabling session
persistence is discussed later.
Passing the Client IP address to WebLogic Server
Since Stingray Traffic Manager is a proxy, all requests it sends to WebLogic will appear to come from the Stingray Traffic Manager
server's internal IP address (10.59.1.20 and 10.59.1.30 in the example). If the application needs to know the true client IP
address, Stingray Traffic Manager can pass it to WebLogic in an extra HTTP header. For WebLogic version 6.0 and later, this
header must be called "WL-Proxy-Client-IP"; for earlier versions, the header is called "X-Forwarded-For".
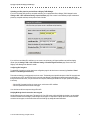
First, configure WebLogic to use the extra HTTP header by turning on the WebLogic Plugin Enabled setting in the WebLogic
administration server. If you are not sure how to do this, please refer to the documentation for your version of WebLogic Server.
© 2011 Riverbed Technology. All rights reserved.
7