1
Chapter QuickStart
2
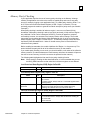
This chapter provides an overview of the steps needed to configure and operate a basic
reflective memory network and to verify Memory Xchange operation.
Note:
For operation of an RMX in a redundancy system, refer to the PACSystems Hot
Standby CPU Redundancy User’s Manual, GFK-2308.
Performance Recommendations
To transfer data most efficiently, use the minimum number of reads/writes possible. For
example, use one long read/write instead of several. Length is specified in data size
(DWORDS).
For maximum performance, Offset, which is specified in BYTES, should be specified in
numbers divisible by 4, so that bus accesses are DWORD aligned.
1. Install the Memory Xchange module in the rack system. If necessary, apply power to
the controller.
When power is applied to the module an internal loopback test occurs; the OWN DATA
and SIGNAL DETECT indicators turn on briefly during this test. When the Memory
Xchange module and the CPU are powered up and functioning properly, the module’s
OK indicator is on.
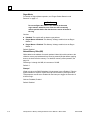
Warning
RX7i modules do not support hot installation and removal. Do not
insert or remove RX7i modules with power applied. This could cause
the CPU to stop, damage the module, or result in personal injury.
Note:
RX3i Memory Xchange modules support hot insertion and removal.
For installation details, refer to “Physical Installation” in chapter 3.
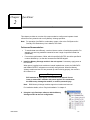
2. Using the Logic Developer software, add the Memory
Xchange module to the rack configuration.
GFK-2300D
2-1