1
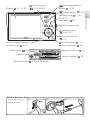
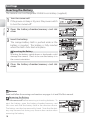
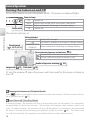
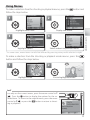
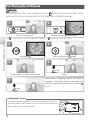
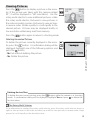
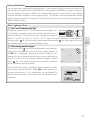
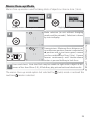
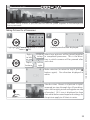
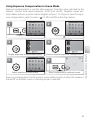
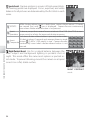
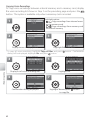
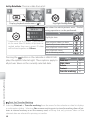
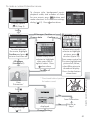
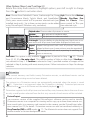
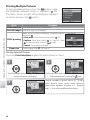
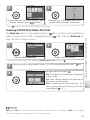
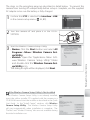
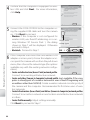
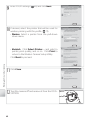
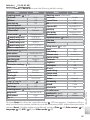
Configuring the Camera
Follow the steps below to copy wireless settings to the camera via USB. For details,
see pages 65–68. Information on the settings required for manual setup in Steps
8 and 9 may be found on page 69. Help can be displayed by clicking Help at any
stage; to cancel setup, click Cancel at any time.
Wireless Transfer and Printing
1
2
3
Confirm that PTP is selected for Interface > USB in the camera setup menu.
4
Check that the computer supports wireless LAN.
5
Connect the COOL-STATION to the computer using the supplied USB cable and turn the camera on.
6
Choose one of the following options.
Create an
Create an Ad-hoc
Create Infrastructure
(Camera to Com- (Access Point) and Ad-hoc
Infrastructure
(Access Point)
puter) network
(Camera to Computer)
network profile
profile
network profiles
7
8
Enter a profile name and choose the icon that will appear in the camera profile list.
Turn the camera off and place it in the COOL-STATION.
Start the Wireless Camera Setup Utility and check that the camera is powered by the AC adapter or the battery is fully charged.
Enter wireless network settings.
8
Create
Profile
manually
• Fixed IP addressing
• Windows XP SP2
not configured
for wireless LAN
• Windows XP SP1
• Macintosh
Enter wireless network settings.
Enter a profile name and choose the icon
that will appear in the camera profile list
in ad-hoc mode (see Step 7).
9
10
64
Select a printer for wireless printing.
Enter TCP/IP settings.