1
Calibration
Calibration Screen Layout
Calibration
Screen Layout
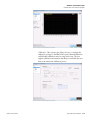
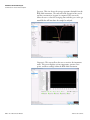
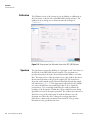
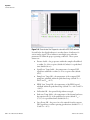
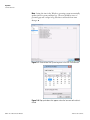
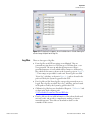
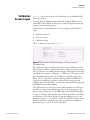
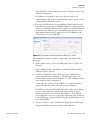
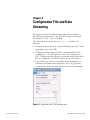
Figure 4–1 shows a screen shot of the calibration view with Manual Cal 1
Point type selected.
Selecting different calibration types will result in slightly different views,
specifically in the Calibration Setup area, to reflect the specific inputs and
outputs associated with each type.
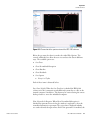
Certain sections of the calibration view do not change with Calibration
Type.
●
Calibration Progress
●
Cal Factors Array
●
Calibration Status
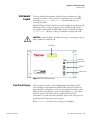
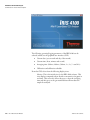
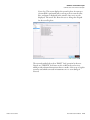
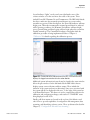
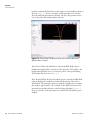
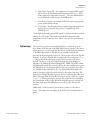
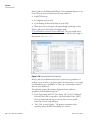
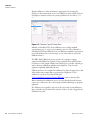
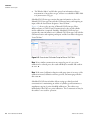
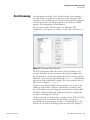
These are shown as a close up in Figure 4–3.
Figure 4–3. Screenshot of Calibration Progress, cal Factors Array and
Calibration Status
The Calibration Progress visually tracks the duration of calibration. At the
left hand side of the bar is a button that aborts a calibration run in progress
On top of the bar is an additional status message, indicating the active Port
and whether the segment is “Purging” or “Calibrating.” The progress of the
bar is determined against each step of calibration, including purge times.
When “Abort” is pressed for any reason during calibration, calibration is
stopped and a final purge sequence is initiated before starting normal
sampling again. Pressing “Abort” a second time will suspend the purge and
immediately start normal sampling.
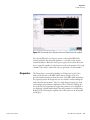
The Calibration Factors Array shows the resultant numbers for Cal Factor
and Offset for the previous calibration process in normal operation. The
Species name is always CO2 for the IRIS 4100, and the Fit Window Index
is always 1. During normal operation the GUI shows the Factor and Offset
for calculation of the carbon dioxide. During the calibration process, the
numbers are always ‘1’ for Cal Factor and ‘0’ for Cal Offset, as these are the
default conditions for calculating new factors. Single Point Calibration
always generates a result of ‘0’ for the Cal Offset.
Thermo Fisher Scientific
IRIS 4100 Instruction Manual
4-5