1
Creating Address Labels
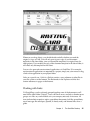
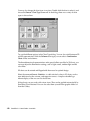
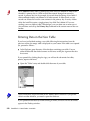
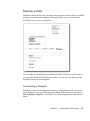
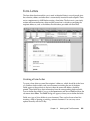
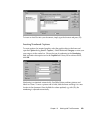
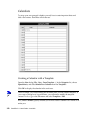
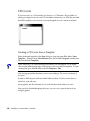
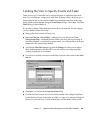
If you want to create address labels do the following:
■
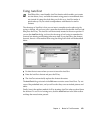
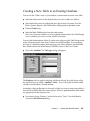
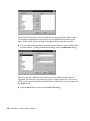
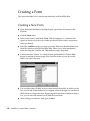
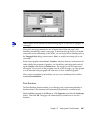
Open the Labels dialog with the File menu and New - Labels....
■
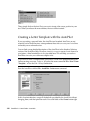
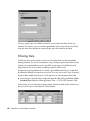
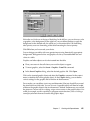
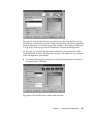
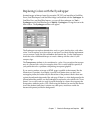
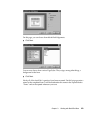
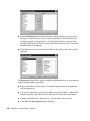
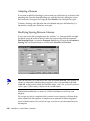
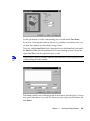
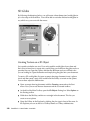
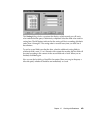
Choose the format of the label sheet to be printed. Remember to put a check in the
Synchronize contents check box on the tabpage Options needs to be activated.
Close the dialog with New Document.
■
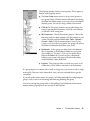
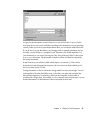
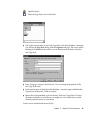
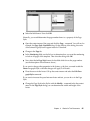
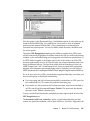
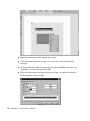
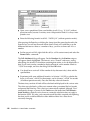
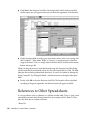
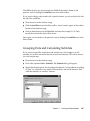
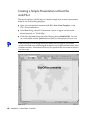
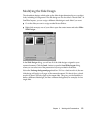
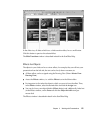
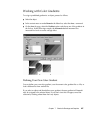
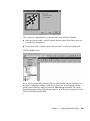
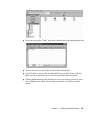
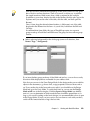
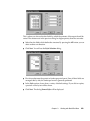
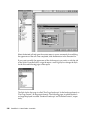
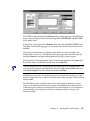
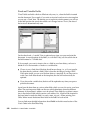
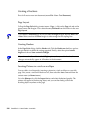
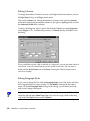
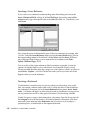
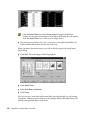
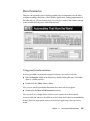
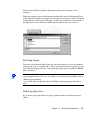
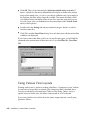
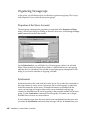
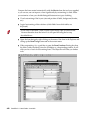
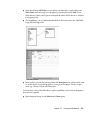
When you see the label document, open the address book in the Beamer by
pressing the F4 key. If the Beamer covers the label in the top left corner, click the
Stick icon on the border of the Beamer.
■
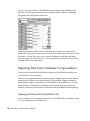
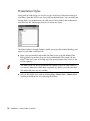
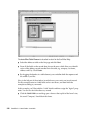
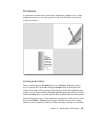
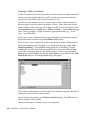
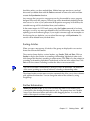
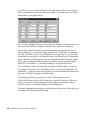
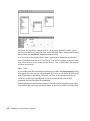
Drag the desired data fields from the Beamer to the first label on the top right. For
example, select the NAME header and drag it into the label on the top right. You'll
see that the field name is inserted. Arrange the fields in order to accommodate a
complete address.
■
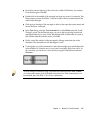
Now, place the cursor in the last text position (behind the last field).
■
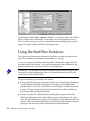
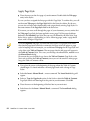
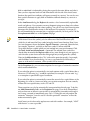
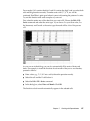
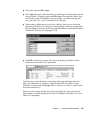
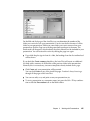
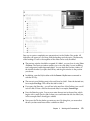
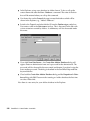
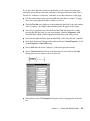
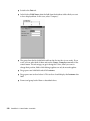
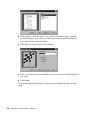
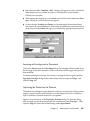
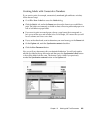
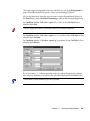
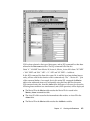
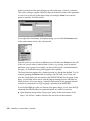
Open the Fields dialog, for example, with the Ctrl key + F2 and go to the Database tab.
■
In the type list box select Next record, click Fields and then Close.
■
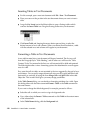
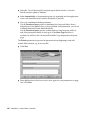
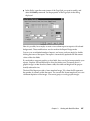
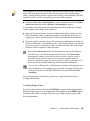
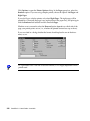
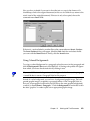
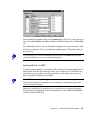
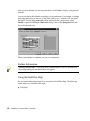
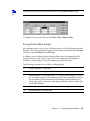
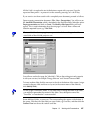
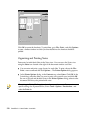
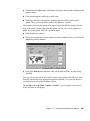
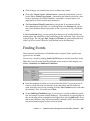
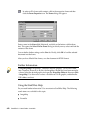
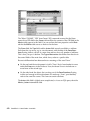
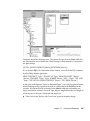
To synchronize the labels click the Synchronize button in the small window.
■
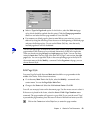
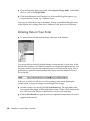
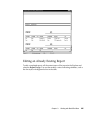
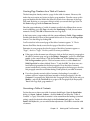
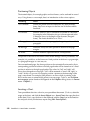
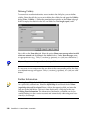
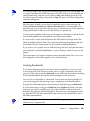
Select the records you want to have in your address label by clicking the headers in
the Beamer. Use the Shift or Ctrl key in the usual way to select various records at
the same time.
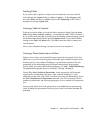
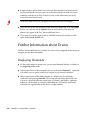
On the Database Bar, click the Update fields icon.
■
260
Now you can save and print your label document.
StarOffice 5.2 User's Guide • June 2000