1
Glacier Transportable Sampler
Section 2 Installation
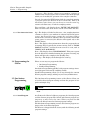
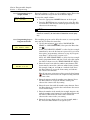
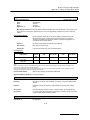
To set the suction line size:
1. Determine the size of suction line in use. Compare this to
the blinking selection.
2. If the selection is incorrect, press the ARROW button. This
will change the blinking selection.
3. Press the ENTER button to accept the selection. The Glacier loads the size into the current program settings and
advances to the next step.
Note
Selecting 1/4-inch (6-mm) suction line disables the Bottle Full
detection.
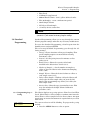
2.10.2 Calibration Step 2
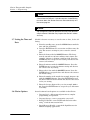
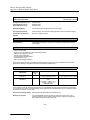
SUCTION LINE LENGTH:
7.6 m (0.9-30.2 m)
The Glacier advances to the Suction Line Length display.
The Suction Line Length is the measured length of tubing in use.
The length is measured from end-to-end, without the strainer or
tube coupling. When using English units of measure, the suction
line tubing must be cut in whole foot lengths. When using metric
units of measure, the tubing must be cut in decimeter lengths.
To enter the Suction Line Length:
1. Measure the length of tubing. Cut the tubing if necessary,
to the nearest whole foot or decimeter.
2. Enter the tubing length. Press the appropriate NUMBER
buttons on the keypad.
Note
If you enter an incorrect value with the NUMBER buttons,
press the STOP button. The Glacier restores the original value
and waits for a new value.
3. Press the ENTER button to accept the value. The Glacier
loads the length into the current program settings and
advances to the next step.
2.10.3 Calibration Step 3
The Glacier advances to the Suction Head display.
Note
This step only appears when the liquid detector is disabled
(see section 3.8.4).
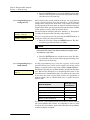
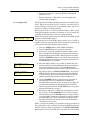
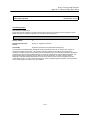
SUCTION HEAD:
3.1 m (0-7.6 m)
Suction Head is defined as the vertical distance from the surface
of the liquid to the inlet of the pump.
Since the Glacier will be unable to calculate the suction head as
it collects each sample, the Glacier will ask for a manual or
“fixed” suction head. The Glacier skips this step when the Liquid
Detector is enabled.
2-16