1
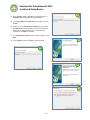
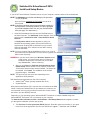
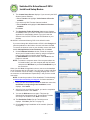
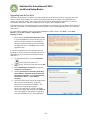
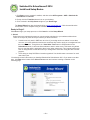
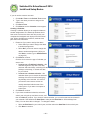
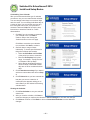
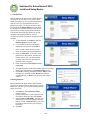
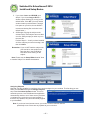
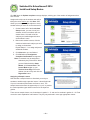
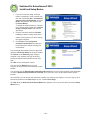
Switched-On Schoolhouse® 2014
Install and Setup Basics
5. If you chose Leave on CD-ROM, go to
Step 6. If you chose Copy to Drive, a
window opens allowing you to copy to the
default folder. Click OK. (You may choose
another location provided there is enough
free space on your drive, but we HIGHLY
recommend leaving the curriculum in the
default folder.)
6. SOS begins copying the subject to the
selected drive. If the subject has more than
one disc, SOS prompts you when to put in
the next disc.
Perform Steps 2 – 6 until you have installed
all of the subjects you intend to assign, and
then click Next.
Remember: If you do NOT load the subject onto
your hard drive, the student must
have the disc in the CD-ROM or
DVD drive when working on the
subject.
Note: Please see the Setup Wizard tutorial “How
to Install a Subject” for additional assistance.
Assigning Subjects
Now that you have installed your subjects, they can be assigned to your students. The first thing you see
when you click Next moving to the Assign Subjects
step is the Curriculum Update window. This is an
automatic process. Just click Ok and the application
automatically checks to see if there are any revisions
or updates to the curriculum you have installed. If
there are any updates, they are automatically applied
to your database.
Note: If you do not have internet access, you need to contact Customer Service
periodically to see if there are any updates to your curriculum.
~ 27 ~