1
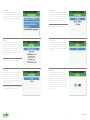
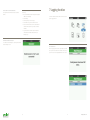
6.4 Test
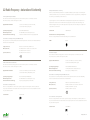
6.7 Add
Note:
Hit start when ready.
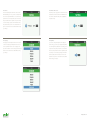
When a reading is ok, you should click the add button (it
• After the sensor is inserted in a slab, it will take up to
should be highlighted in blue and click enter). When hit-
10 seconds for the final reading appears. It is recom-
ting enter, the add button will light up for about 3 seconds.
mended to wait 10 seconds before hitting the Add
After that the reading on the display will show 2/3. Below
button)
• If very low values on WC (<10%) or EC readings of 0,00
the measure value the average and standard deviation of
appear, the sensor was exposed to air and readings are
all readings until that moment are given.
not representative for a slab measurement
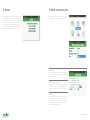
6.8 Store – break in multi measurement session
Stopping and restarting a measurement session
Whit this function, all measurement that are taken are sto-
• If one wants to break of a measurement session before
all blocks or measurements are taken, you should hit the
red. This button should be used if you want to stop with the
store button to store data in the file.
measurements.
• If you want to continue the measurement you simply
start up the multi measurement function again. The
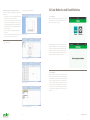
6.5 Activate sensor
screen will ask whether you want to resume the unfini-
After the file is created, the reader will ask to push the sen-
shed session or start a new file. When Resume is chosen,
sor button. The number of the sensor the button is push
the old session will continue. When a New is chosen, I
appears in the screen and is highlighted. Push enter to
new file can be created and a new session started.
select.
6.9 Reading – correct a reading
If you used the add button to quick and a false measurement was stored, this can be deleted by select the reading
function. Make sure reading is blue and hit the enter button. A new screen will appear and ask you whether you really want to delete measurements. Click yes to proceed. In
the next screen you have to select what reading what was
good and enter that number. It will take you back to that
number. All data after that number will be deleted.
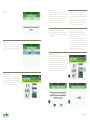
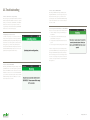
6.6 Start measurements
1
The device is now ready to do measurements. On the left
side the actual reading is given. On the right side information is given on what block and what reading you are. In
the above given example you are about to conduct the first
reading (1 out of 3) of the second block (2).
3
2
16
17
www.grodan.com