1
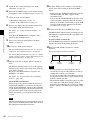
Alternatively, press the RESET button on the right
side of the LCD monitor.
• Adding and deleting shot marks
Notes
• Locked clips are deleted along with other clips.
• Clips cannot be locked or unlocked when the Write
Inhibit tab of the disc is set to the recording disabled
position.
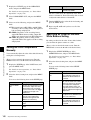
1
5
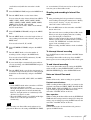
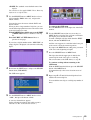
With “OK” selected, press the SEL/SET button or
MENU knob.
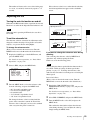
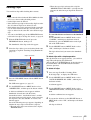
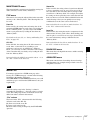
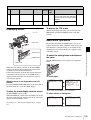
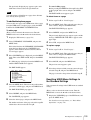
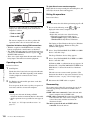
You return to the thumbnail screen, and a lock icon
appears on the thumbnail of the selected clip to show
that it is locked.
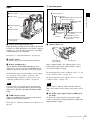
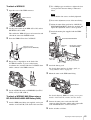
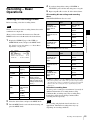
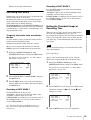
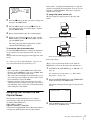
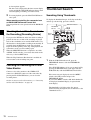
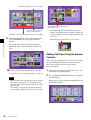
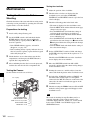
With the SUB CLIP indicator off, press the
THUMBNAIL button, lighting the THUMBNAIL
indicator.
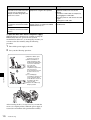
Lock icon
The thumbnails of the clips on the disc appear.
2
Chapter 3 Recording and Playback
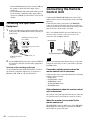
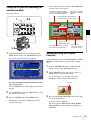
Select the clip to lock (you can do this with the same
operations as step 2 of “Searching Using Thumbnails”
(page 76).
You cannot delete locked clips, rename them, set their
thumbnails, and so on. Unlock the clip if you want to
perform any of these operations.
Clip to be locked
To lock clips with a shortcut operation
You can lock clips without using the CLIP menu.
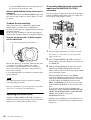
After carrying out step 2 in the procedure, press the STOP
button with the SHIFT button held down (shortcut
operation).
3
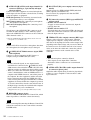
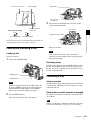
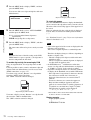
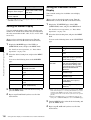
Hold down the SHIFT button and press the CLIP
MENU button.
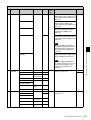
Then CLIP menu appears.
To unlock clips
Carry out step 2 of “Locking (Write-Protecting) Clips” to
select a locked clip (one with the lock icon displayed on its
thumbnail). Then do one of the following.
• Carry out steps 3 and 4 of “Locking (Write-Protecting)
Clips.”
• Press the STOP button with the SHIFT button held down
(shortcut operation).
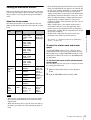
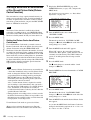
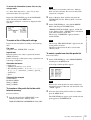
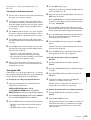
To lock all clips
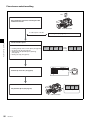
1
Carry out steps 1 and 3 of “Locking (WriteProtecting) Clips” to display the CLIP menu.
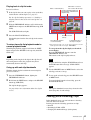
2
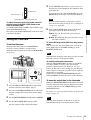
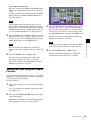
Use the SEL/SET button or MENU knob to select
“LOCK OR DELETE ALL CLIPS”, and then press
the button or knob.
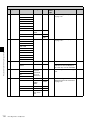
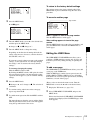
A submenu screen appears.
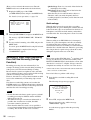
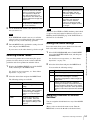
4
3
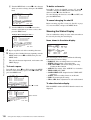
Use the SEL/SET button or MENU knob to select
“LOCK/UNLOCK CLIP”, and then press the button
or knob.
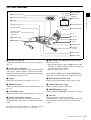
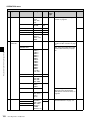
A lock confirmation screen appears. This screen
displays clip names and clip titles.
To cancel the lock operation and return to the
thumbnail screen
Use the SEL/SET button or MENU knob to select
“CANCEL”, and then press the button or knob.
82
Thumbnail Search
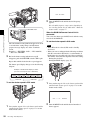
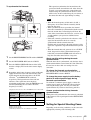
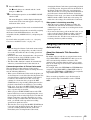
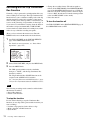
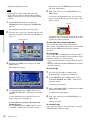
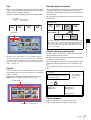
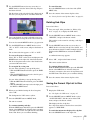
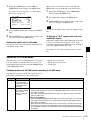
Select “LOCK ALL CLIPS”, and then press the SEL/
SET button or MENU knob.
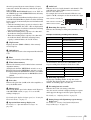
A confirmation screen appears.
4
With “OK” selected, press the SEL/SET button or
MENU knob.
All clips are locked.
To unlock all clips
Carry out the procedure in “To lock all clips”, selecting
“UNLOCK ALL CLIPS” in step 3.